Item Added To Your Cart
You are all set.We've reserved it just for you
Your cart is currently empty.
You are all set.We've reserved it just for you
Your cart is currently empty.


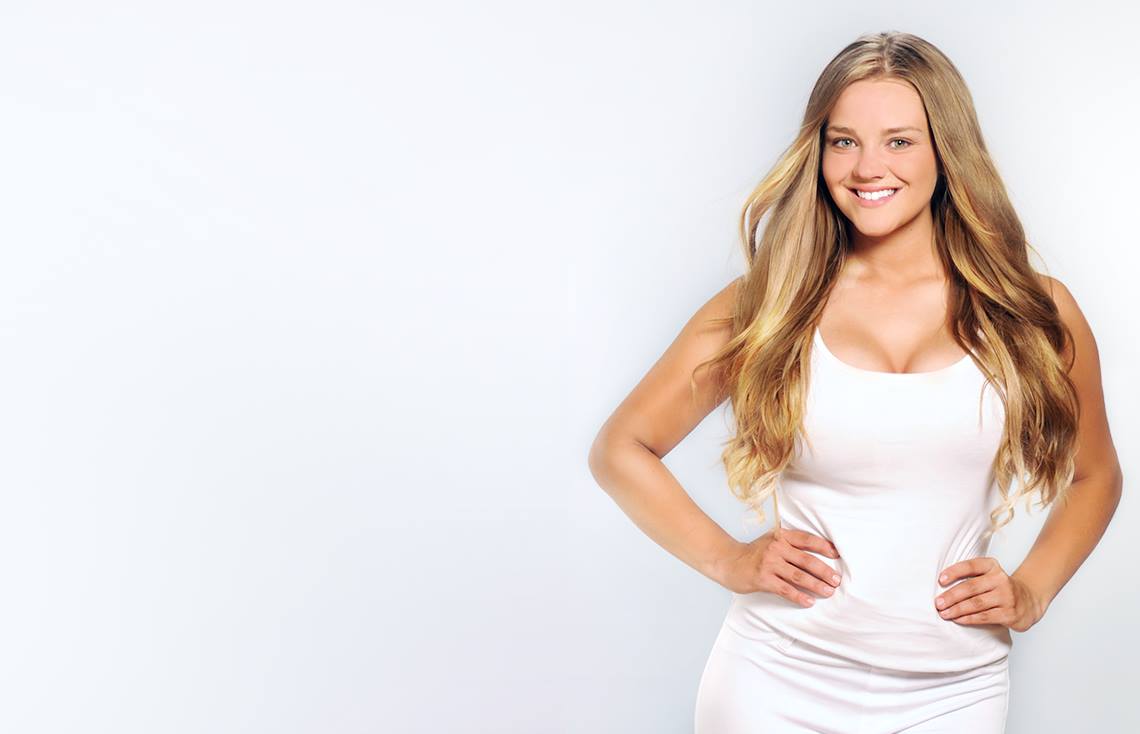
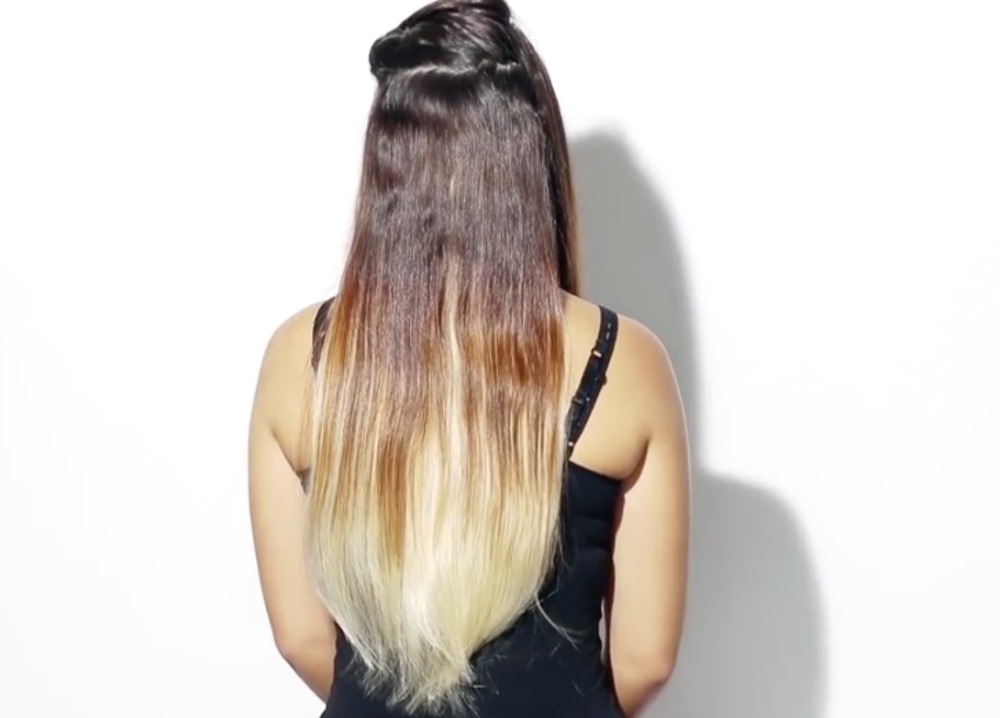
Every now and again, I get caught up with work or family and fail to even realize how completely boring my hair routine has gotten. I have literally gone months with the same hairstyle! But really, if I’m honest about it, there is absolutely no reason I can’t have great looking hair and still get everything else done. So, this tutorial is all about easily spicing up your natural hair by bringing in daring highlights with a healthy dose of glam!
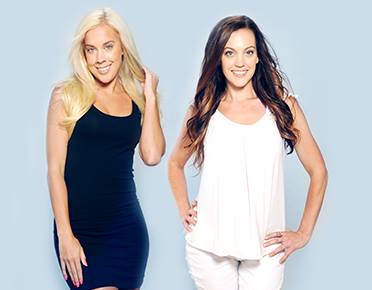
Another great thing about using clip-in extensions is that you don’t have to damage your own hair with harsh chemicals or spend hours at a salon. Oftentimes, you end up not even getting the color you asked for! With Estelle’s clip-ins you can pick your color, length, and create all your favorite styles, hassle-free. So, if you have your clips-ins ready to go, let’s get started!
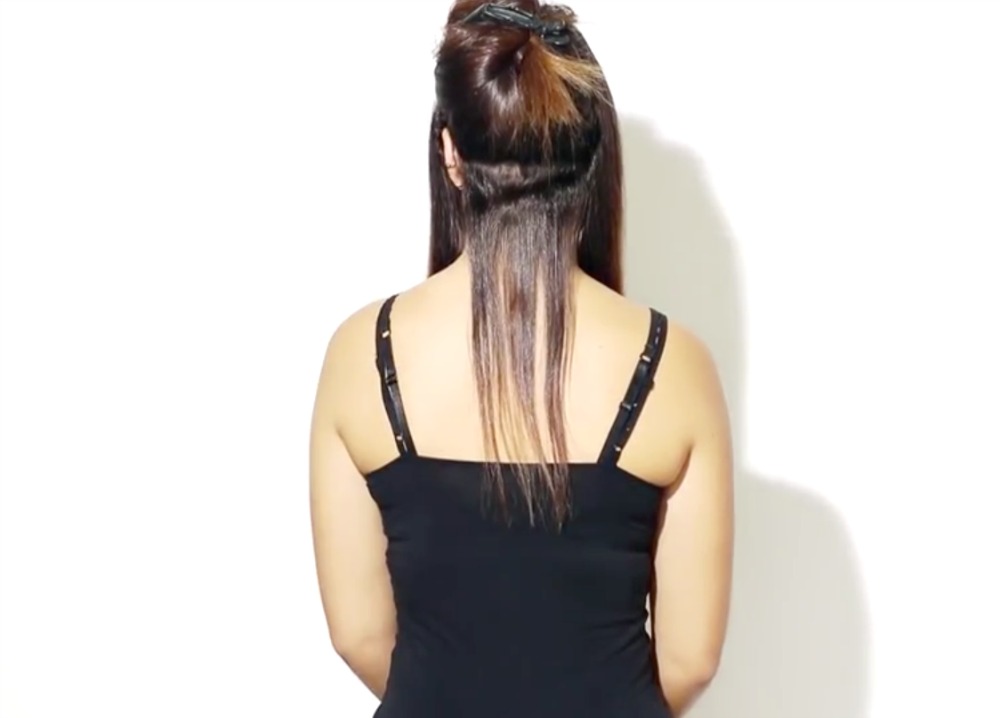
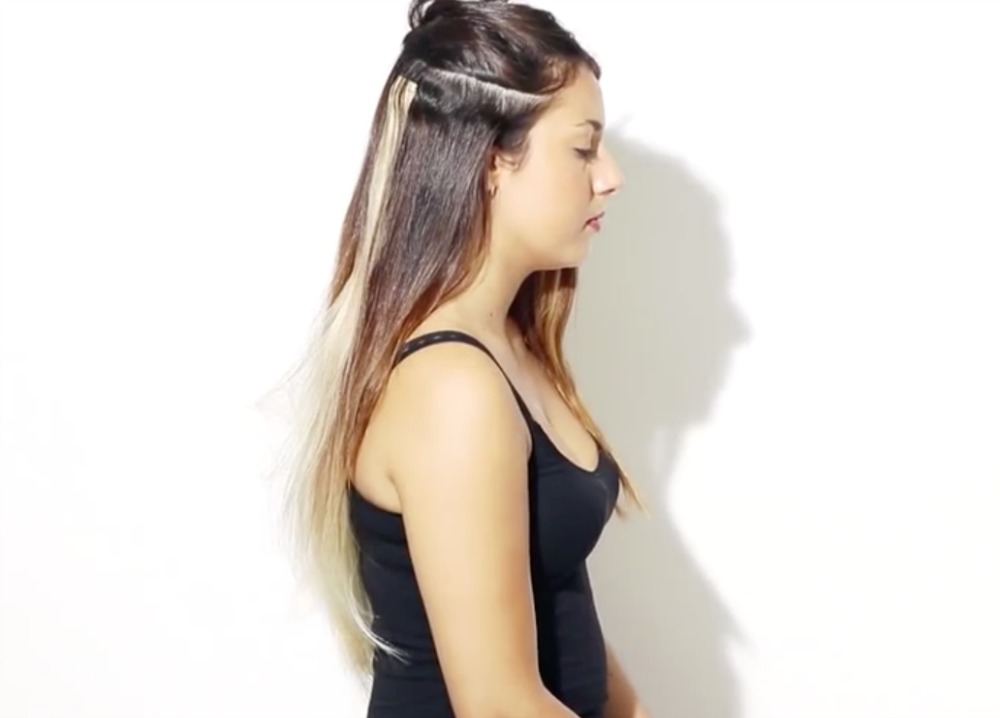
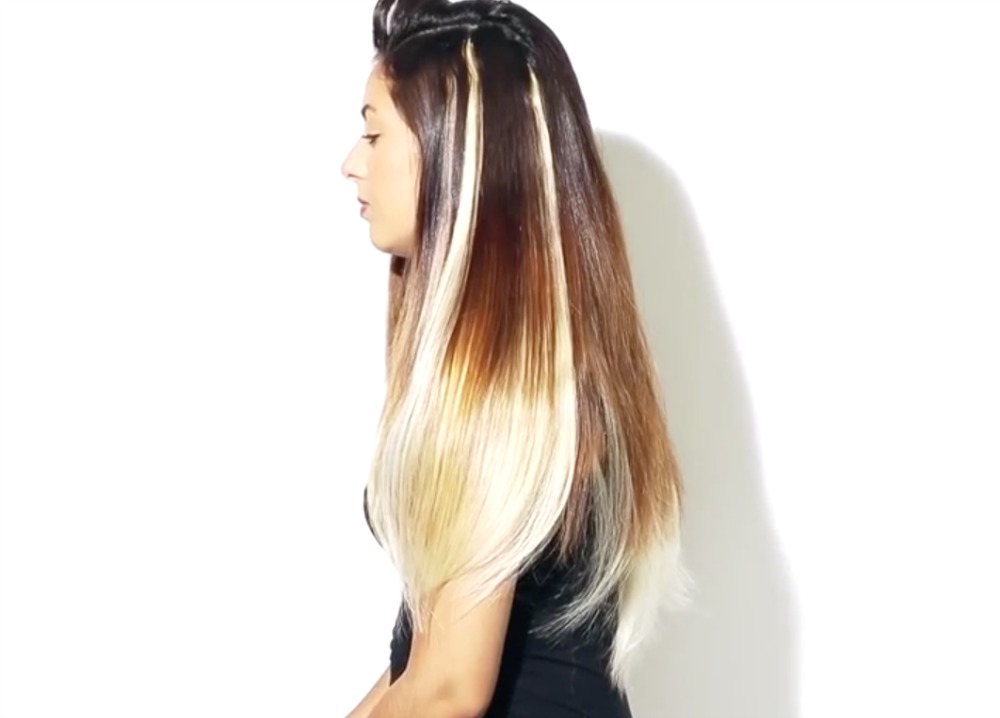
* Just as a note, to apply your highlights, you will be working with 3 parts of your hair: each side and the back half of your head.
Let’s work with the back half first so go ahead and put the sides into an elastic band or clip to keep them out of the way.
* You will be using the three clip pieces for this section.
Ok, start by making a part at the bottom leaving out about an inch of your natural hair, pin up the rest while you apply the first three clip piece.
Add your first three clip piece.
*I recommend brushing between each layer to help blend the colors and to keep the hair nice and neat.
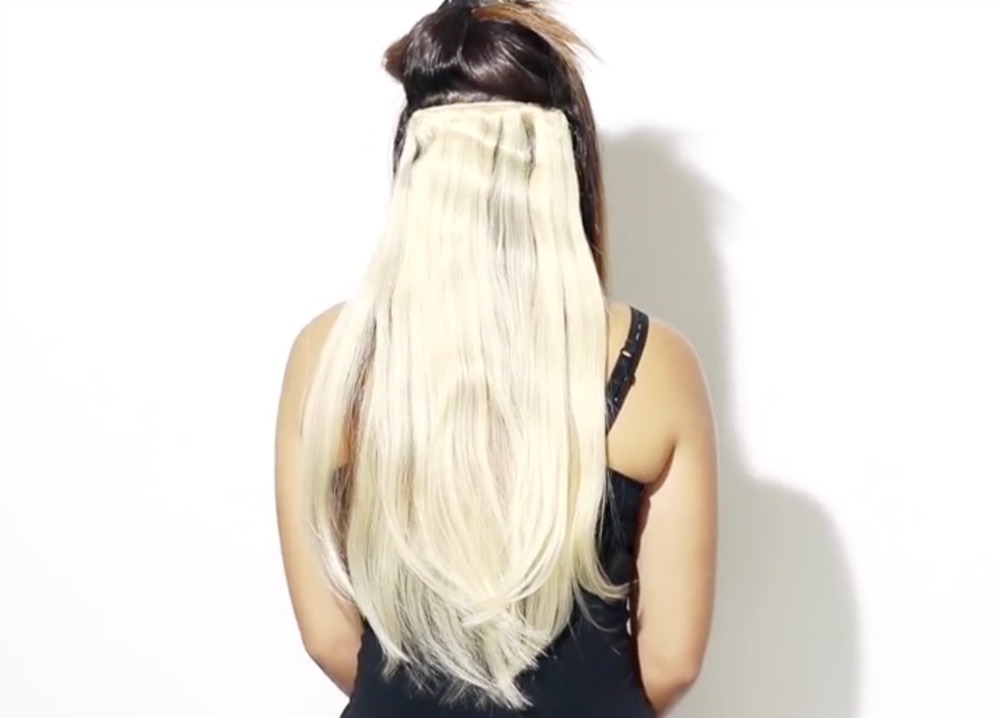
Add another layer of your natural hair.
Repeat this process until you have used all 4 three clip pieces.
* Time to move to the sides! For each side, you will be using 1 two clip piece and 2 one clip pieces.
On one side, starting at the bottom, leave out a couple inches of your natural hair.
Apply 1 two clip piece to your hair, don’t forget to brush between each layer!
Add another layer of your natural hair.
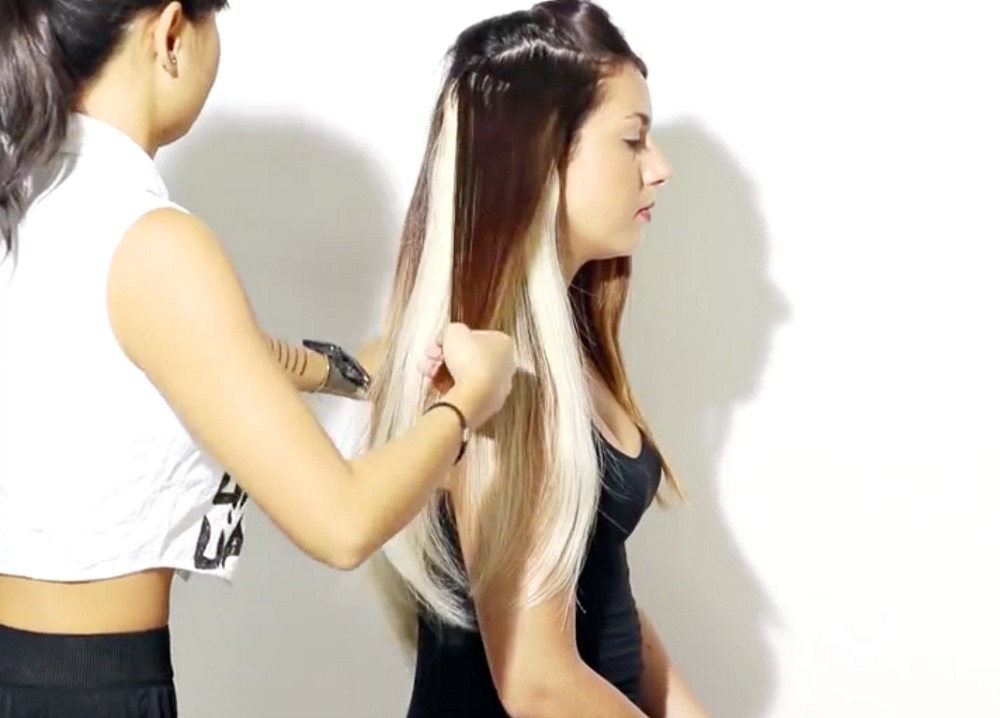
Apply a one clip piece, then add more of your natural hair, and finally one last one piece clip.
Repeat the same process on the remaining side.
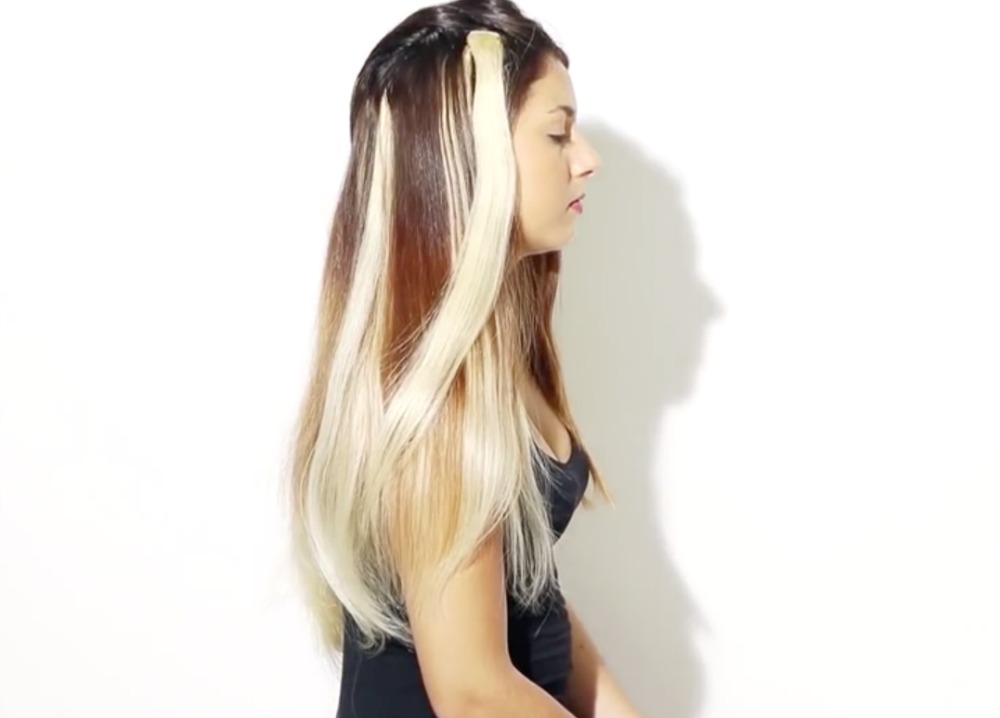
Brush all the hair together blending the colors for a smooth and sleek look.
Let’s finish up this look by using your curling wand add some curls making sure to curl away from your face. The best way to make sure the curls don’t turn around on you is by holding them in place for a minute while they cool. When you curl away from your face in this way, the results are a glamorous, open, and highlighted look. Once your curls are all cooled and set, add your own flare by brushing and teasing the curls to your liking!
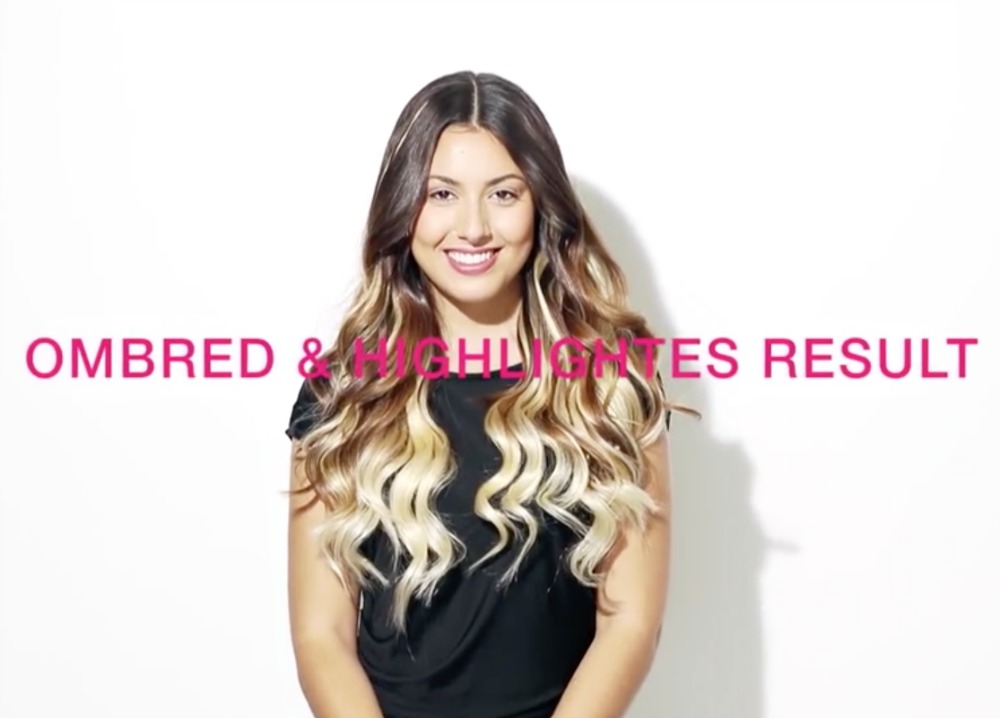
Be sure to subscribe to Estelle’s Secret for the latest and greatest styles and products and I will see you in the next tutorial! Enjoy your new, edgy highlights!
Blispay makes shopping at Estelle's Secret even easier. It's the only payment option that gives you:
No Payments, No Interest on purchases over $199 if paid in full in 6 months.
Blispay gives you 2% Cash Back on all purchases and works everywhere Visa is accepted.
APPLY NOW AT BLISPAY.COM