Item Added To Your Cart
You are all set.We've reserved it just for you
Your cart is currently empty.
You are all set.We've reserved it just for you
Your cart is currently empty.


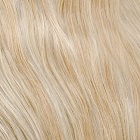
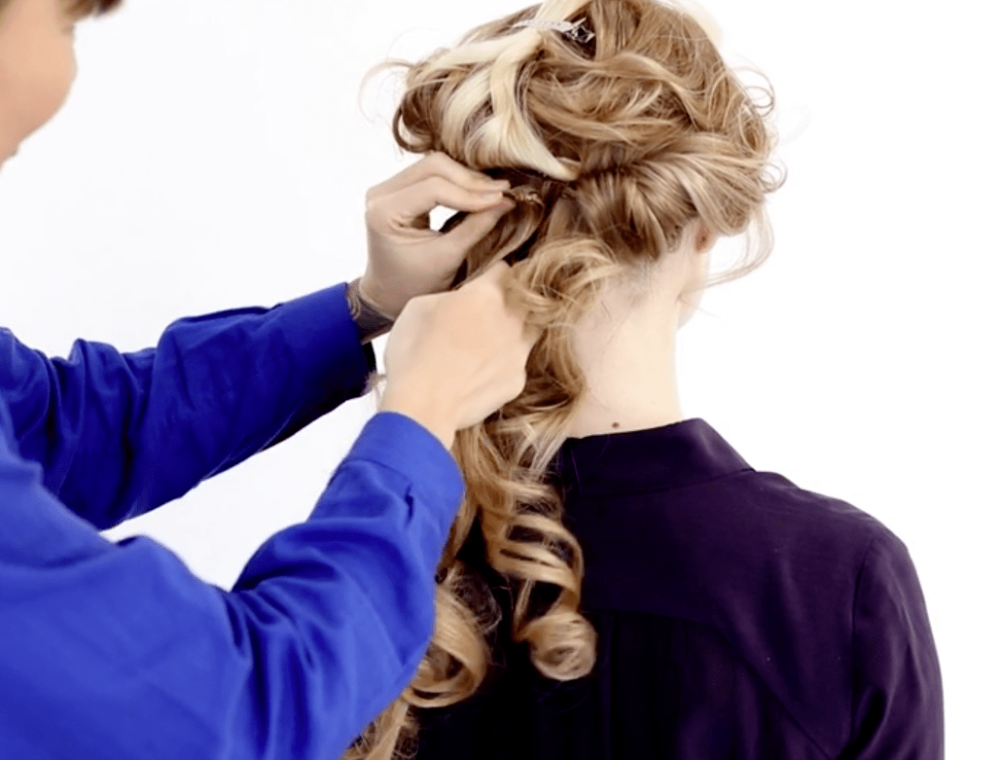
We’ll show you how to turn your new locks into loose waves, and we’ve included a short video to help you learn how to apply and style your extensions.
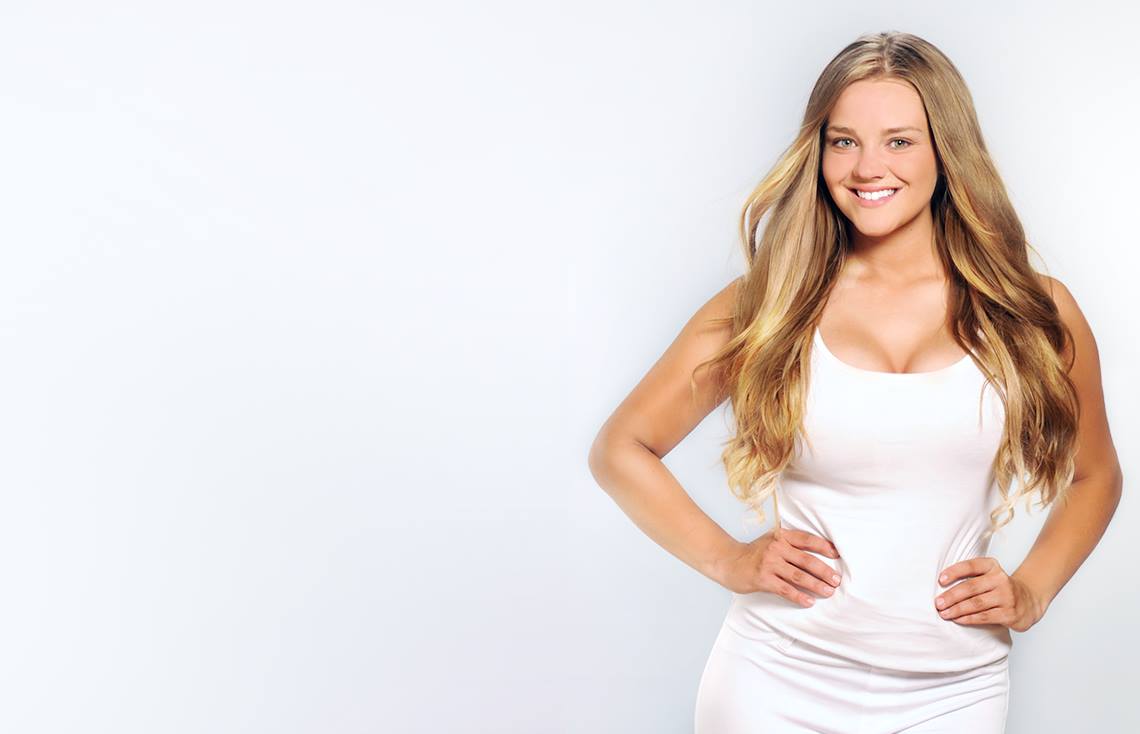
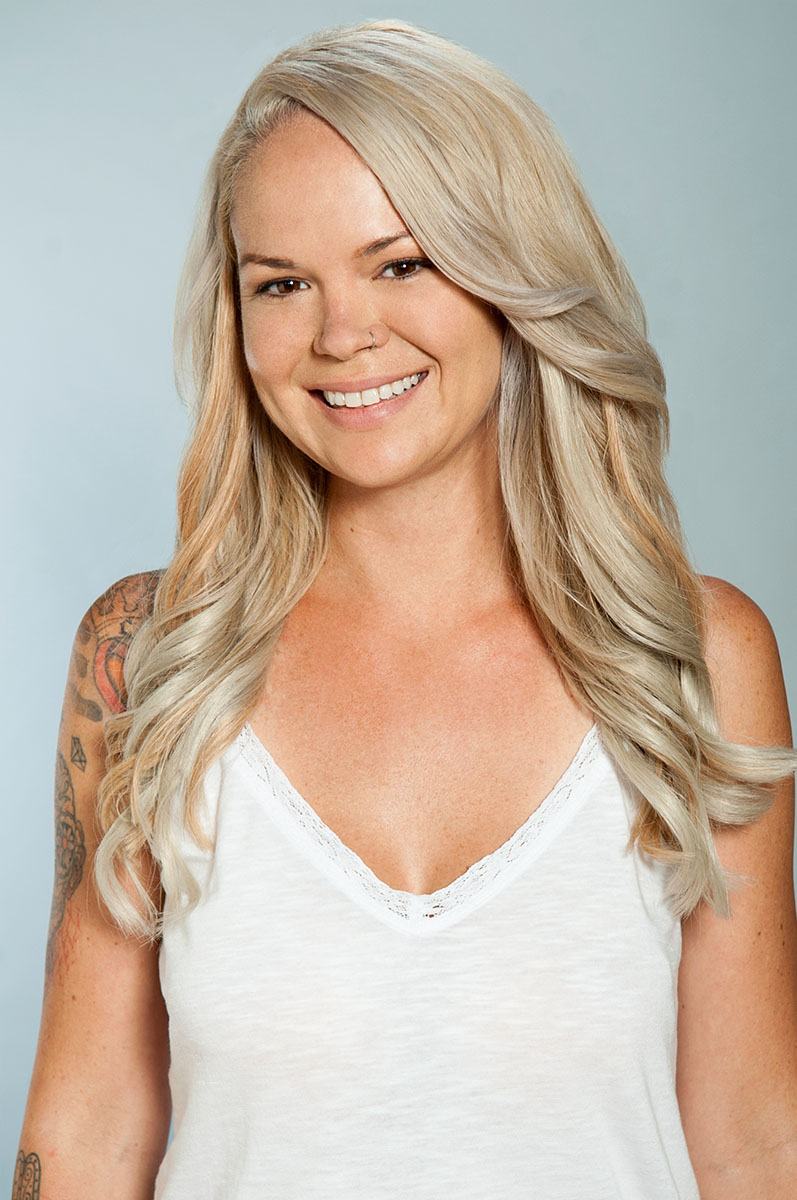
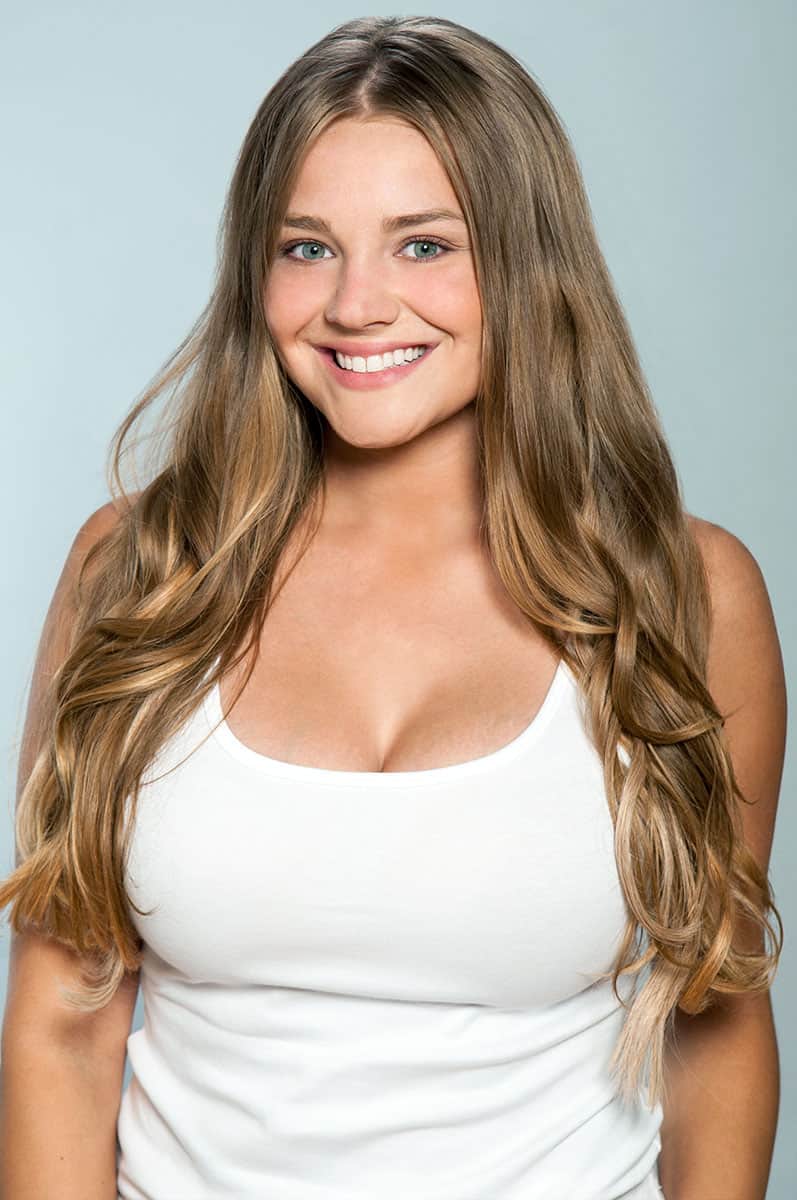
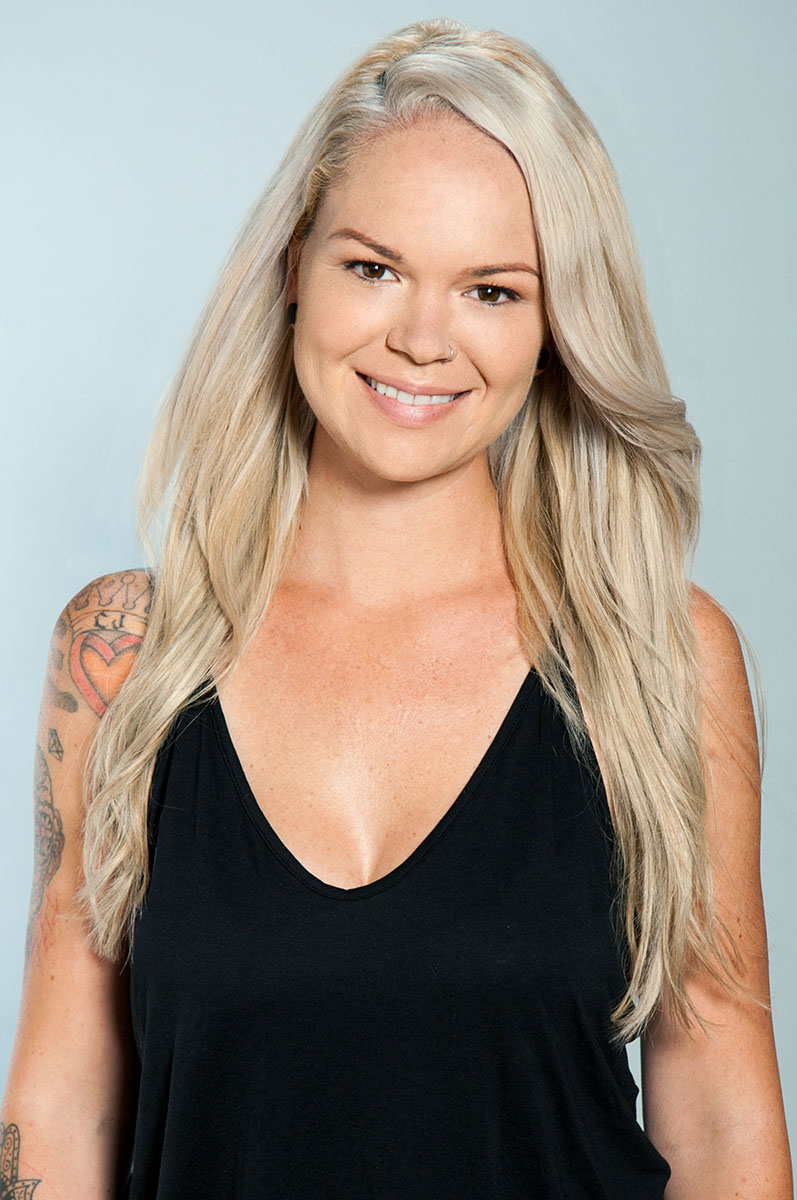
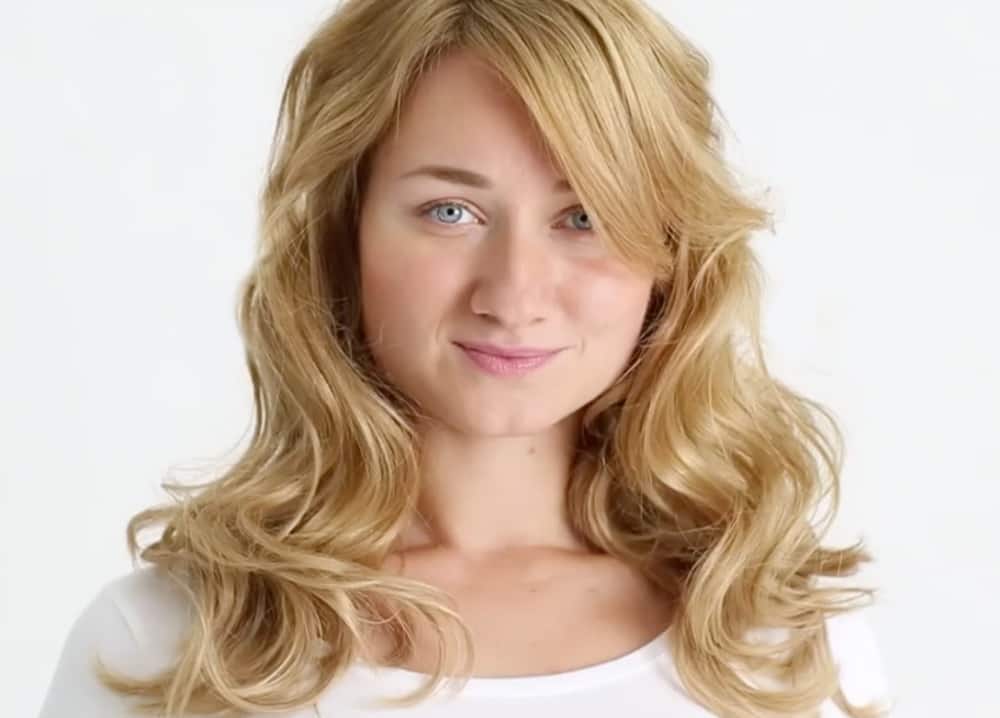
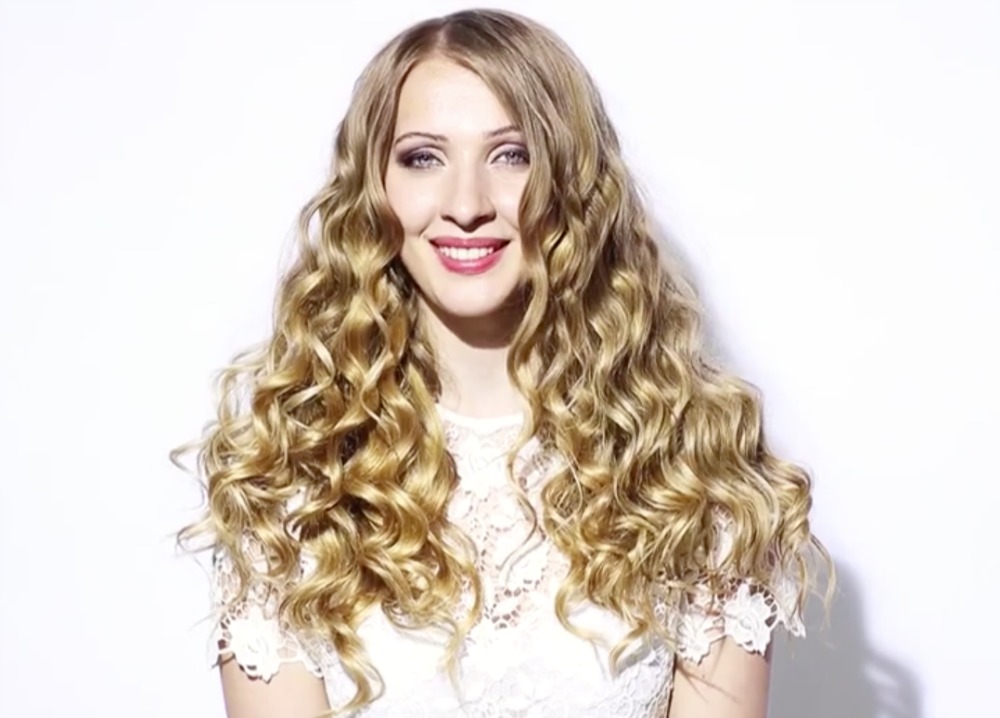
You don’t have to wait six months to have long hair!
If you’ve been trying to grow your hair it out a while, but you’re ready to flirt with long, romantic curls, we’ll show you how you can make it happen with clip-in hair extensions. BONUS: We’ll even show you how to turn your new locks into loose waves, and we’ve included a short video to help you learn how to apply and style your extensions.
We’ll be doing this in three parts: back of your head, sides of your head, and styling.
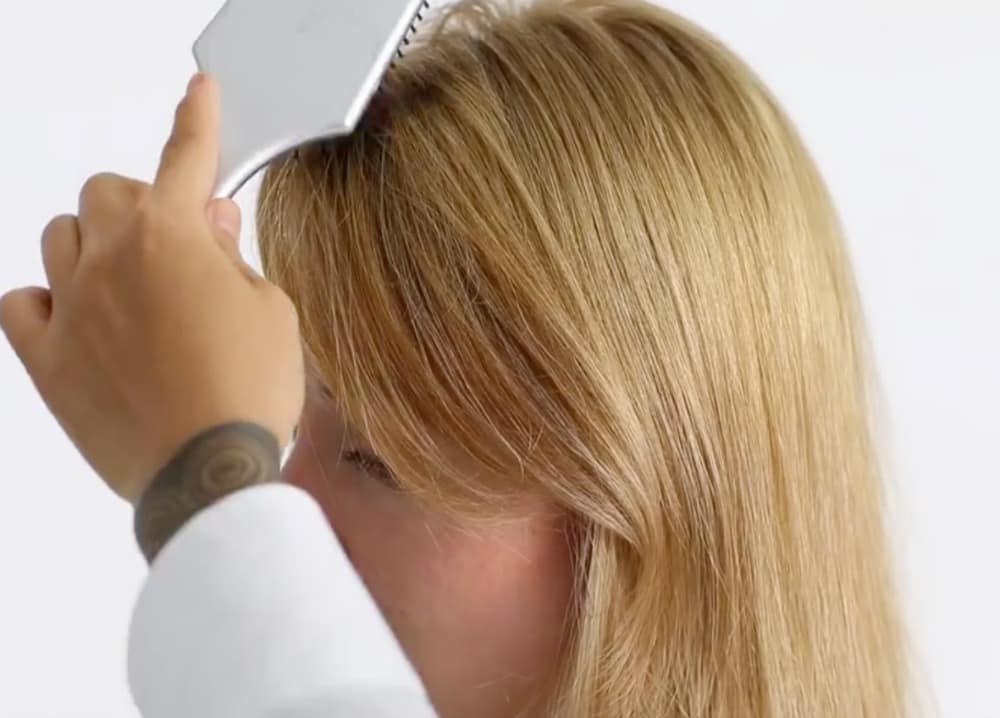
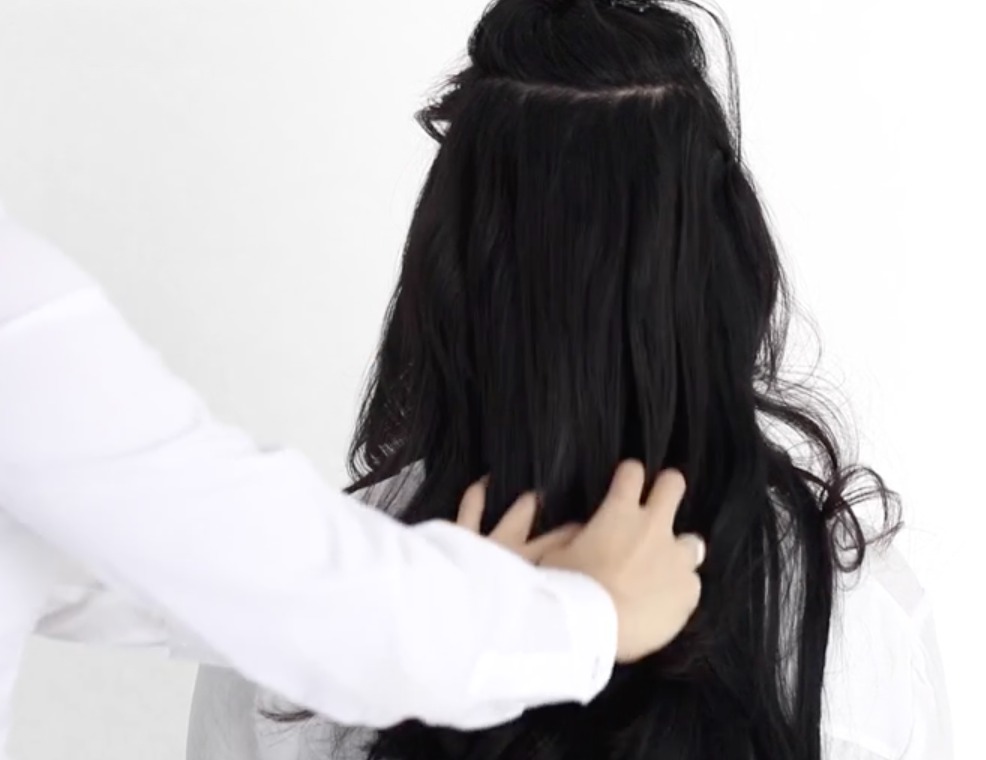
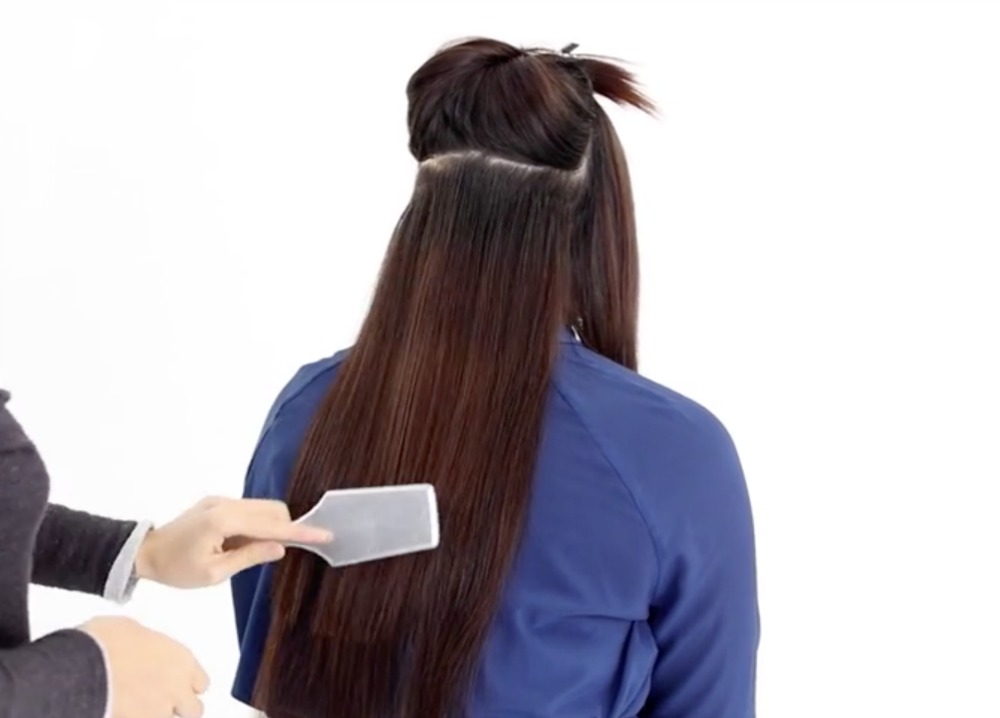
Give your mane a good brushing! You don’t want any tangles to get in the way of your working space when you’re clipping in your extensions.
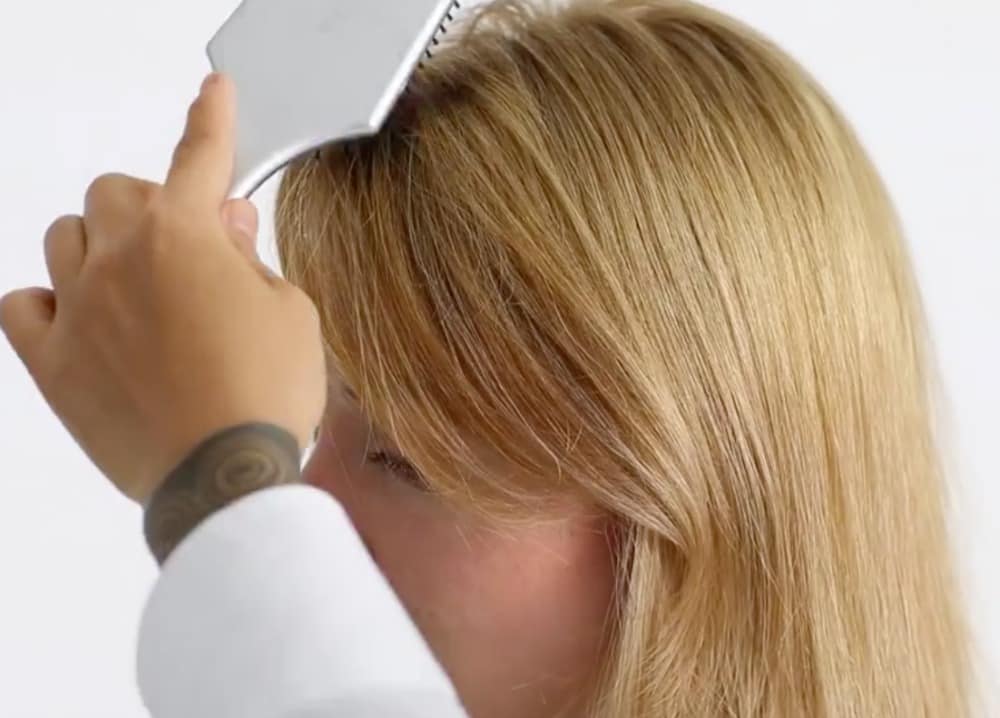
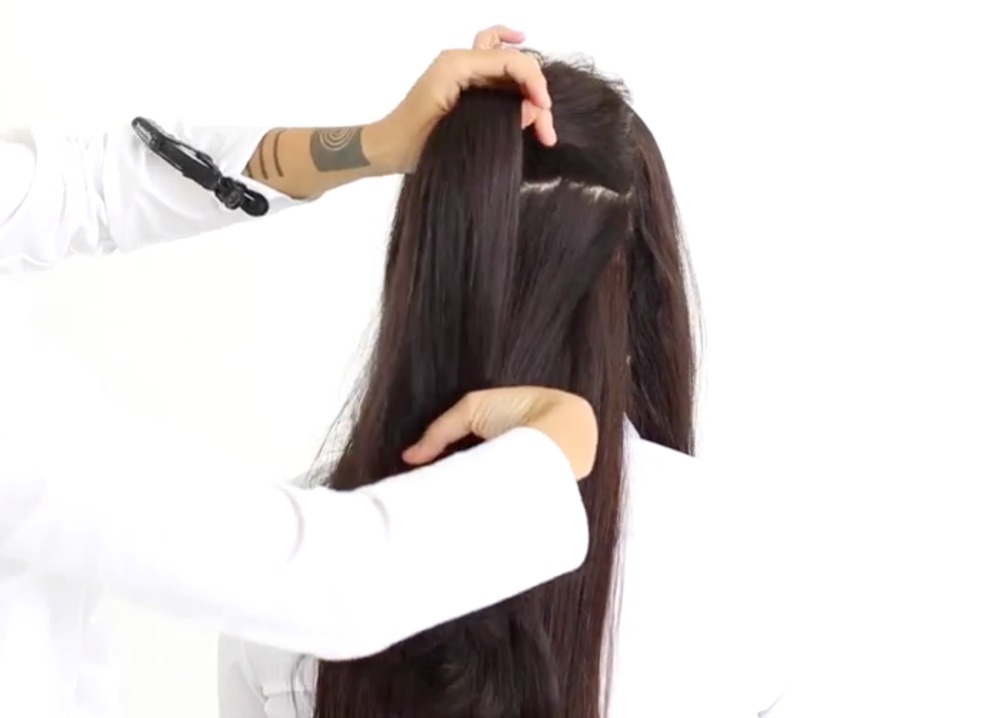
Divide the hair from ear to ear, and clip the top section to the top of your head.
*Make sure your line is clean and even. You’re going to be adding extensions here, and you want a straight part to work with. You’ll want to leave the bottom half of your hair down, so you can brush in the layers of extensions as you go.
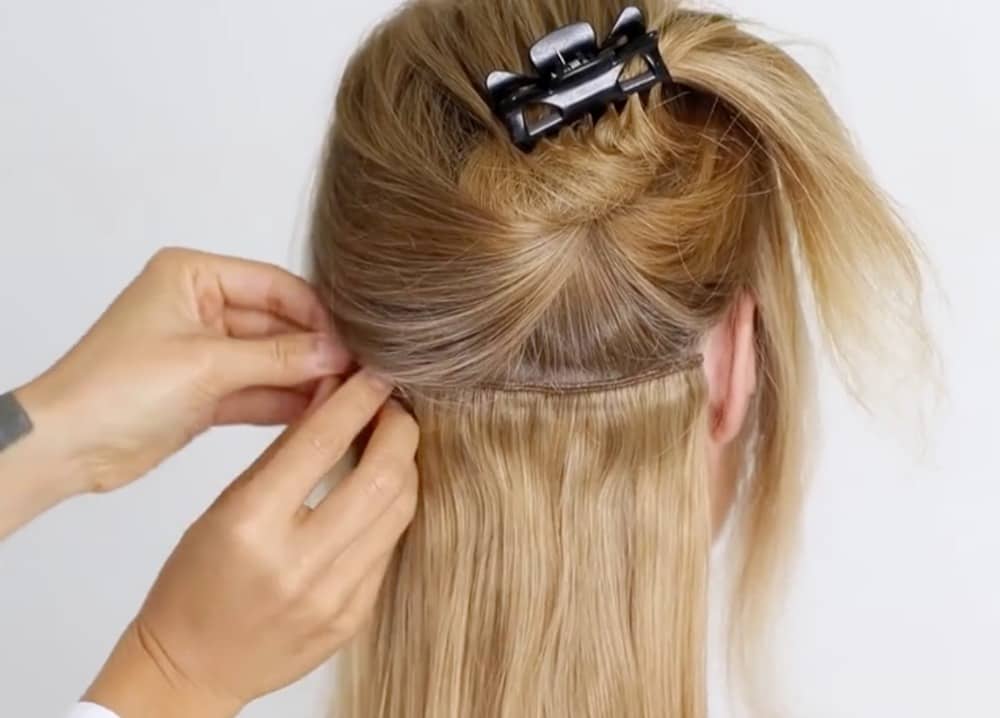
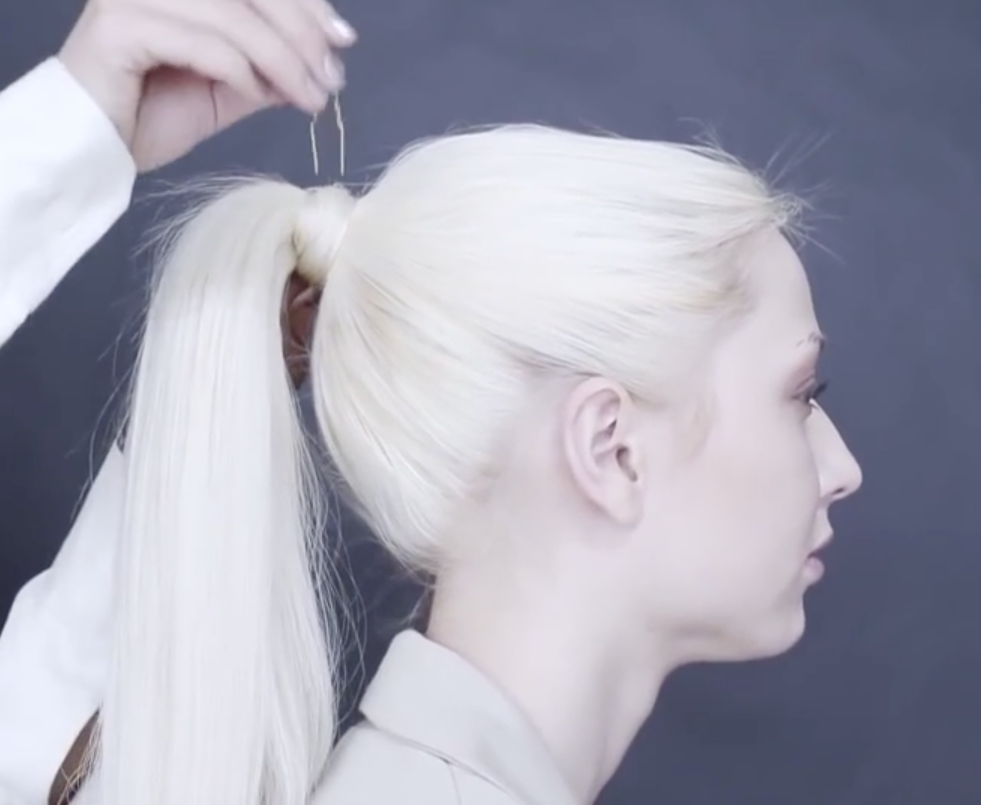
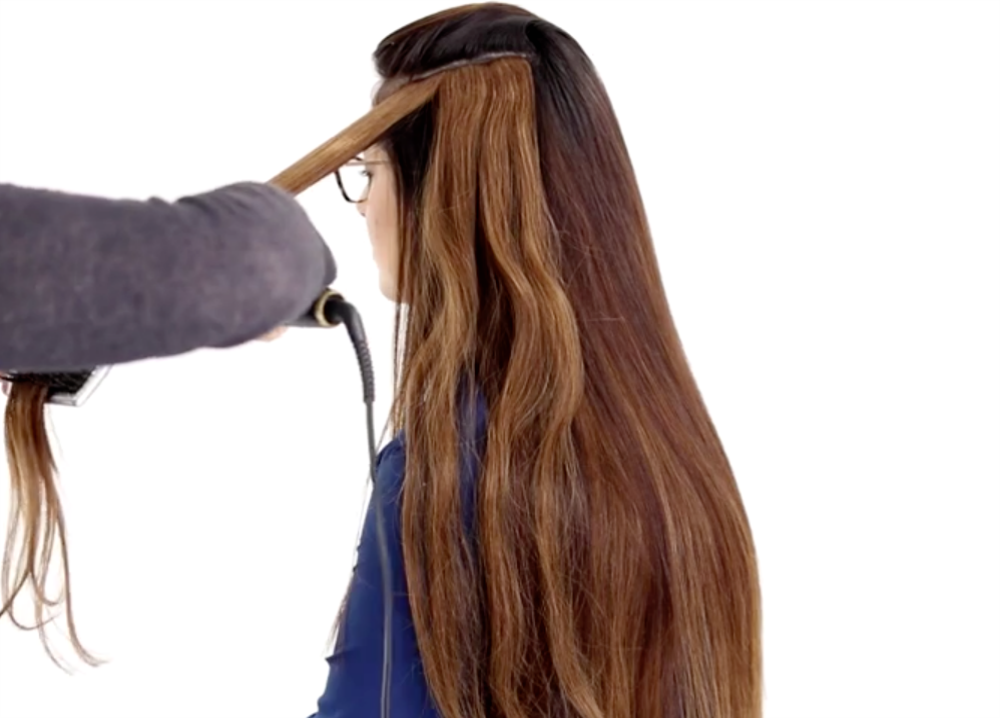
Take the top portion of your hair, brush it up, and clip it to the crown of your head, away from where you will be adding the extensions. Make sure you don’t have strands hanging down the back of your head that will get in the way of adding your extensions.
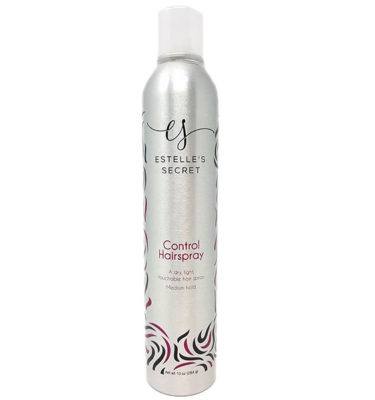
*OPTIONAL: Spray some dry shampoo on your exposed roots to give your clips a better grip.
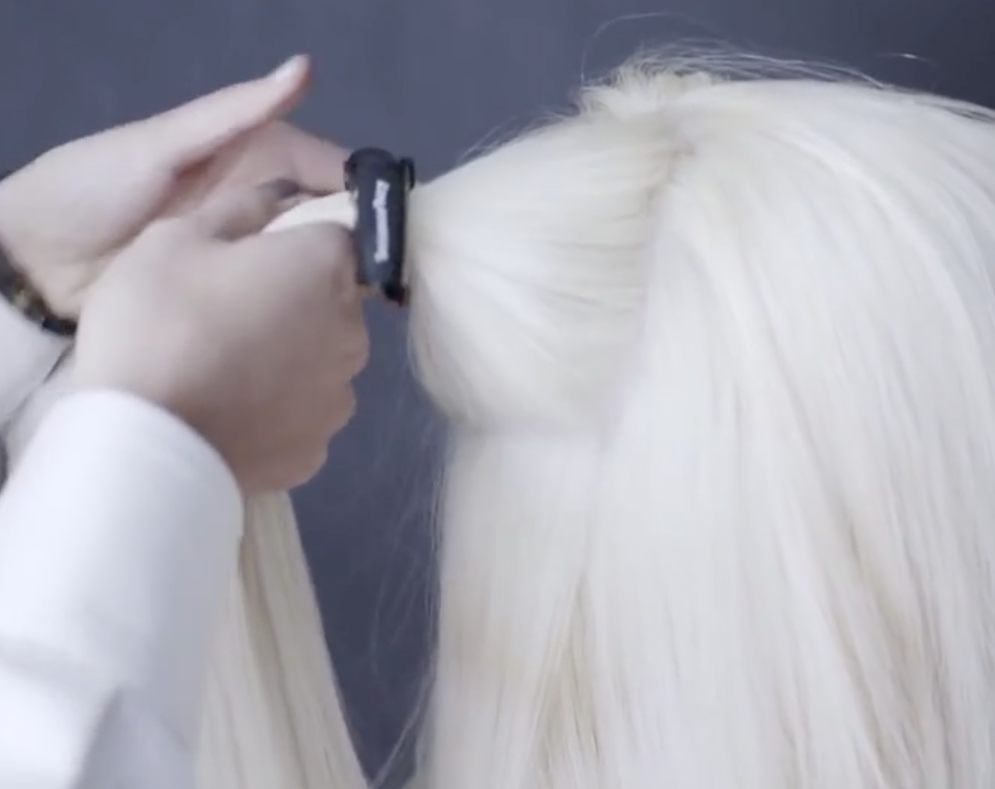
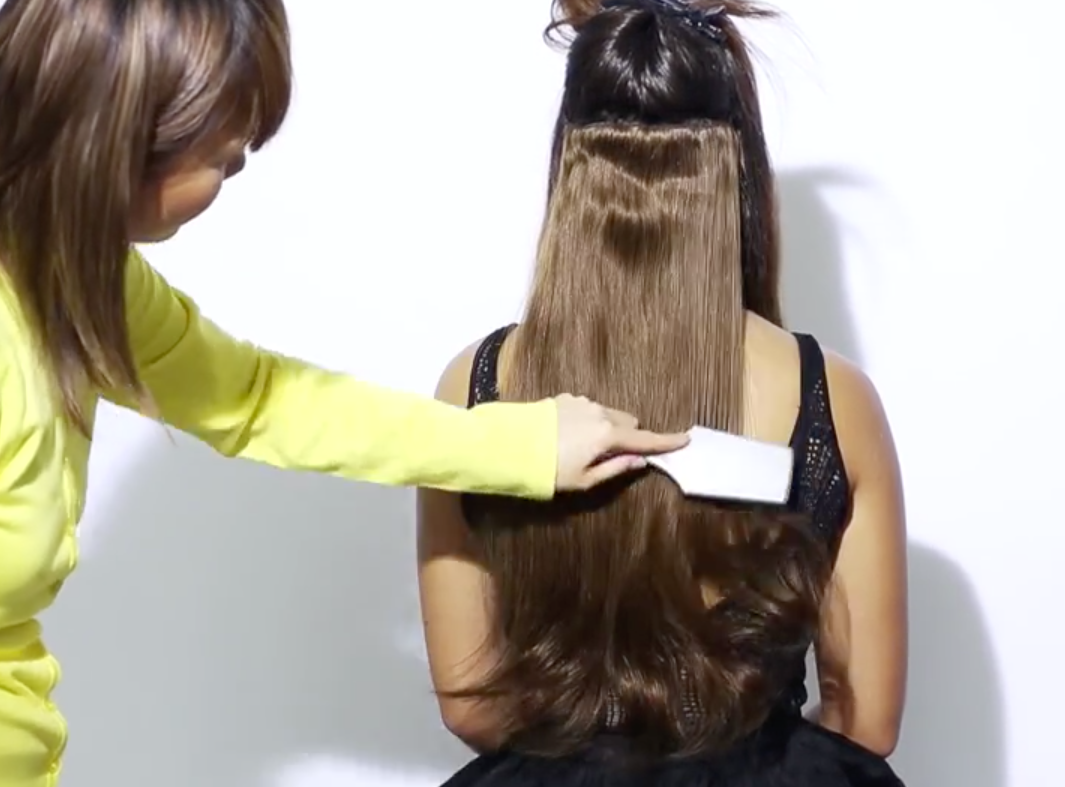
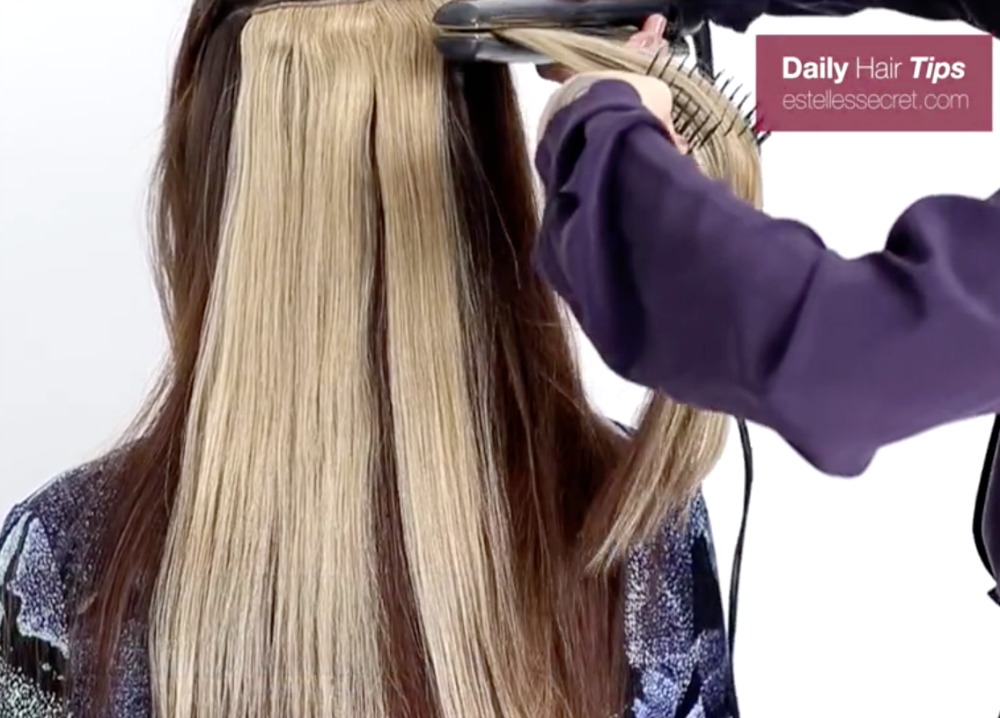
Clip in your 16-inch-long 3-clip weft hair extension.
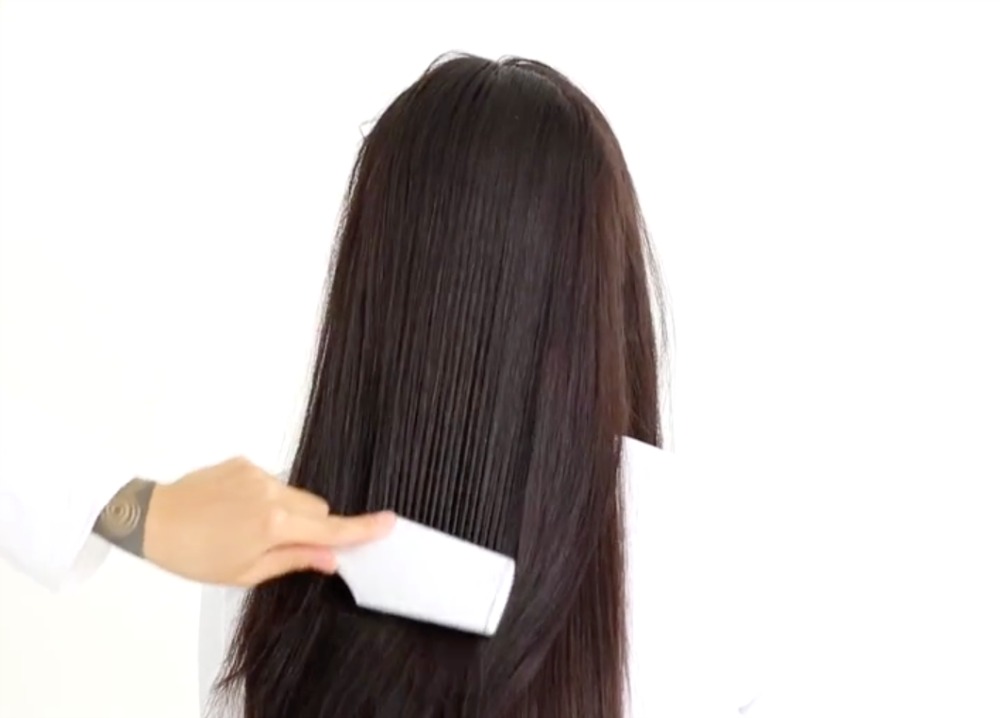
Start with the middle clip first, and then clip in the other two. You’ll want to make sure it’s right near the part, attaching it to the roots of the bottom section of your hair.
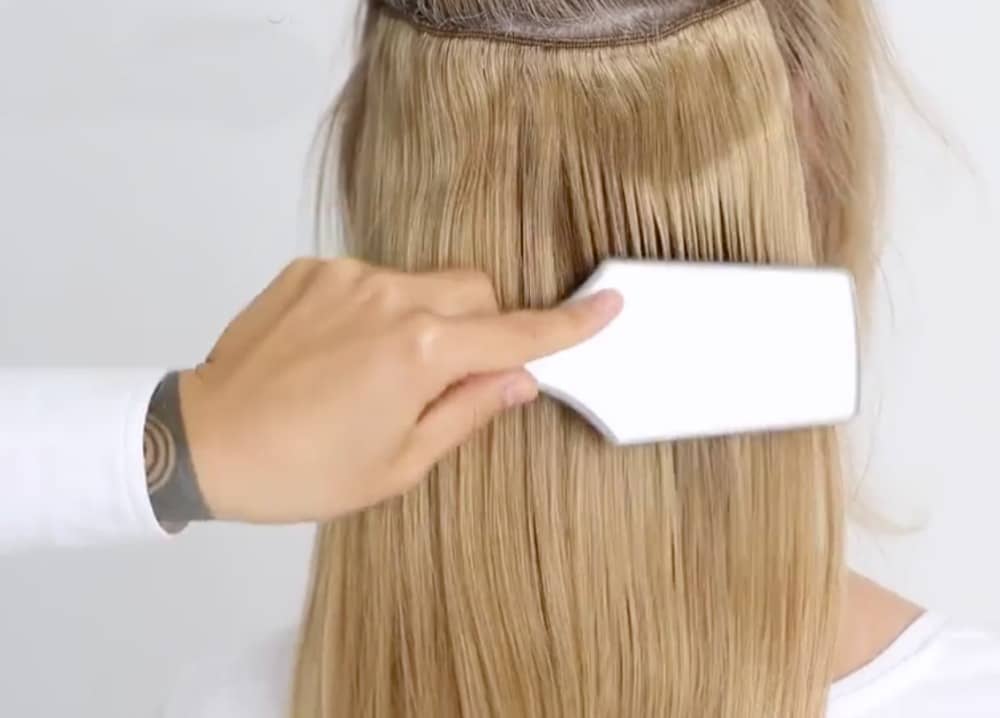
This will volumize and blend the extension strands with your own bottom layer of hair.
Divide the hair from temple to temple, and clip the remaining top section of hair to the top of your head.
Taking from your clipped portion of hair, make a clean divide from temple to temple. Take the top portion of your hair, brush it up, and clip it to the crown of your head, away from where you will be adding the extensions. Make sure you don’t have strands hanging down the back of your head that will get in the way of adding your extensions.
*OPTIONAL: Spray some dry shampoo on your exposed roots to give your clips a better grip.

Clip in your 16-inch-long 4-clip weft hair extension.
Start with the middle two clips first, and then clip in the other two. You’ll want to make sure the top of the extension is right near the part, attaching it to the roots of the bottom section of your hair.
Seeing a pattern here yet? Part, clip, brush, repeat! Again, this will blend in the bottom sections of your extensions with your natural hair and minimize tangles and snags. Bonus—it’ll add some of that volume we all love.
Divide the hair from brow to brow, and clip the remaining top section of hair to the top of your head.
Taking from your top portion of hair, make a clean divide from brow to brow. Take the top portion of your hair, brush it up, and clip it to the crown of your head, away from where you will be adding the extensions. Don’t leave strands hanging down the back of your head!
*OPTIONAL: Spray some dry shampoo on your exposed roots to give your clips a better grip.
Clip in your 16-inch-long 3-clip weft hair extension.
Start with the middle clip first, and then clip in the remaining two. Keep your clips in your exposed roots, right near the part line.
Great! The back is all done now, and all that you’ve got to do now are the sides of your head.
Divide the hair above your brow, and clip the remaining top section of hair to the top of your head.
*Keep that line clean, and pile the top bunch of hair onto your head and clip it!
*OPTIONAL: You can dry shampoo your roots here for a better clip grip.
Clip in your 16-inch-long 2-clip weft hair extension 1 inch from your hairline.
*You’ll want to make sure the edge of the weft is hidden by the front portion of your hair. Make sure it’s about 1 inch back from your hairline.

Divide the hair 1/2 inch above the weft, and clip the remaining top section of hair to the top of your head.
Make that a straight and clean line, and then clip what’s left on top.
*OPTIONAL: You can dry shampoo here (if you’ve been doing that) for a better grip.
Clip in your 16-inch-long 2-clip weft hair extension 1 inch from your hairline.
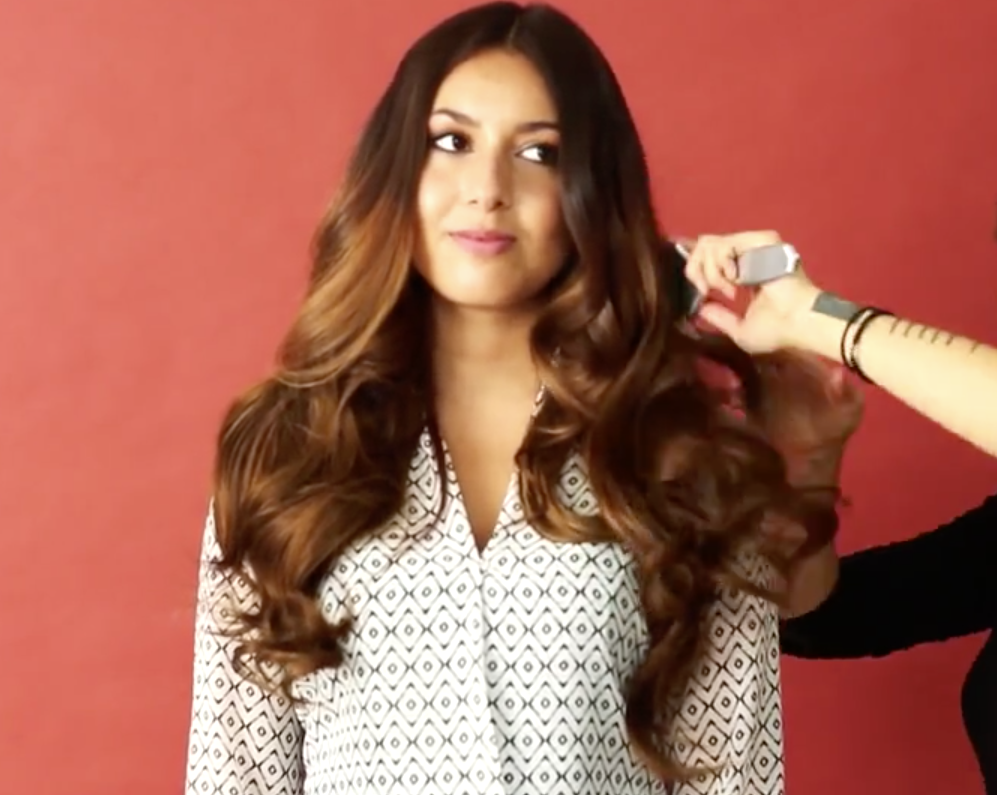
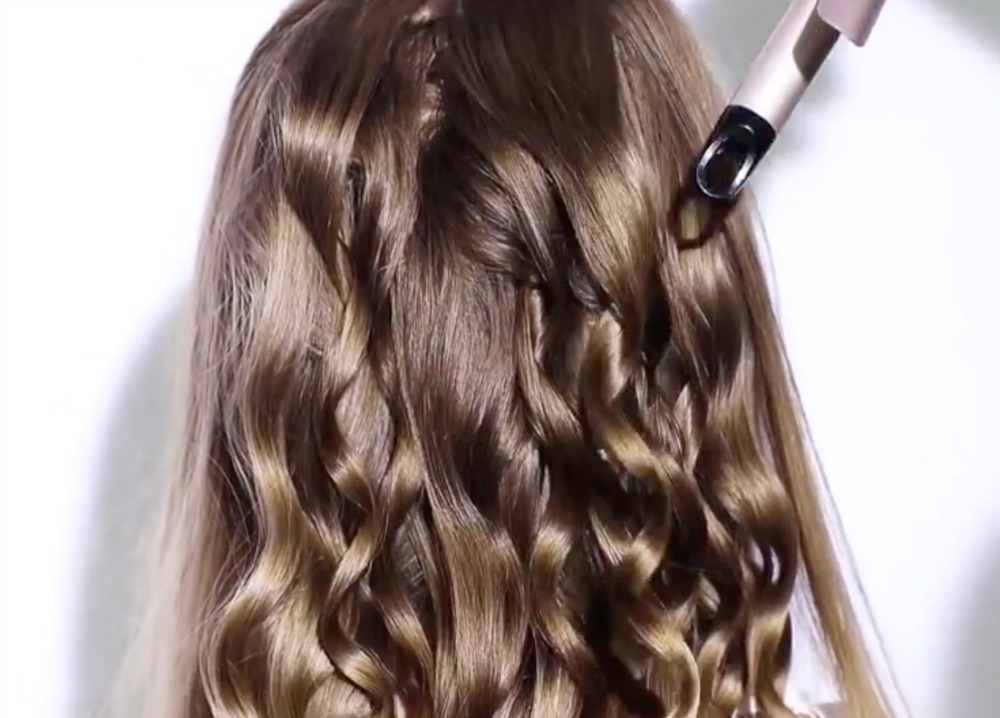
Using a 1 ½-inch curling iron and working in 1-inch sections of hair, roll the section around your curling wand. Start at the base of your hair and the base of the iron, wrapping the hair loosely around the wand out towards the tip. Release the curl into your hand and let it cool down before releasing it.
It’s super long, super high, and super thick. It also happens to be the signature style for a top celebrity that for most people...
3 Comments
Read More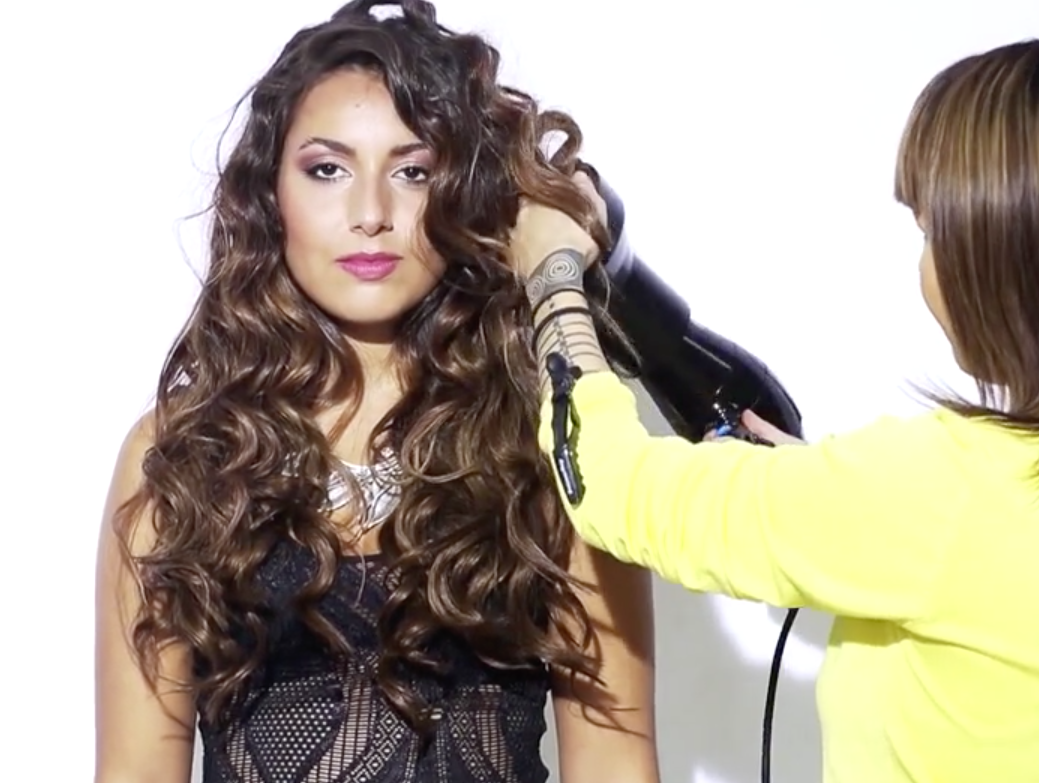
Selena Gomez has some of the most gorgeous celebrity hair! It’s so thick, shiny, and always slaying the hair game. One of her...
4 Comments
Read More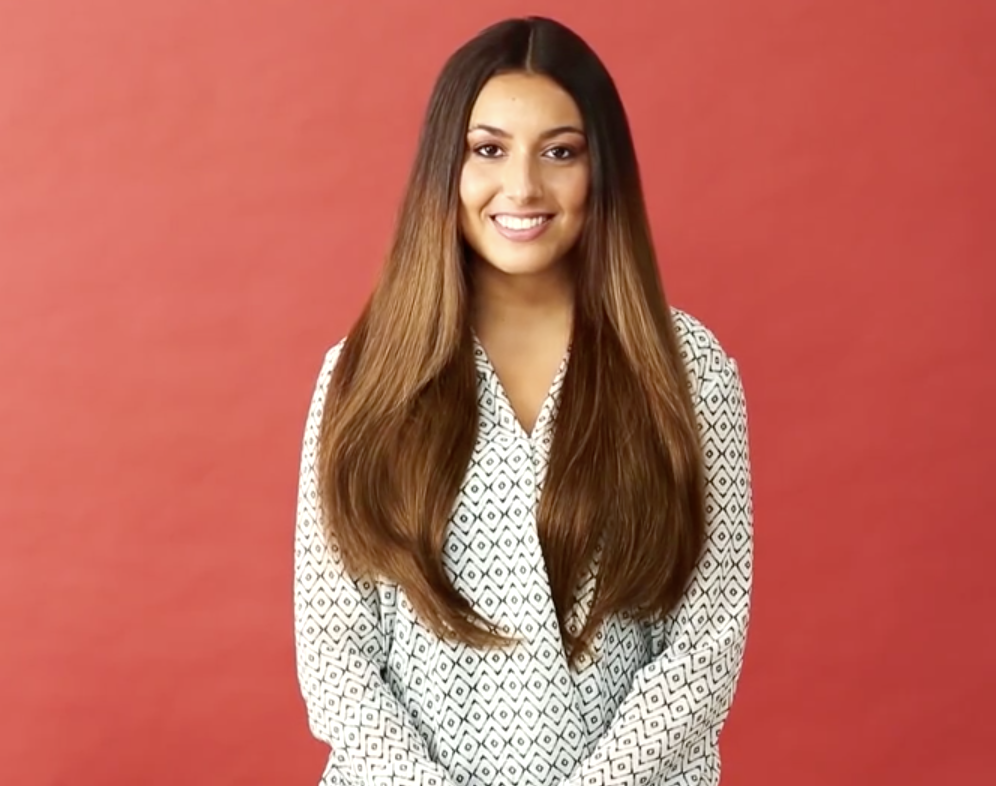
Kim Kardashian’s hair gives most of us ladies some serious hair envy. It is always on point! Whether she wears it straight, i...
210 Comments
Read More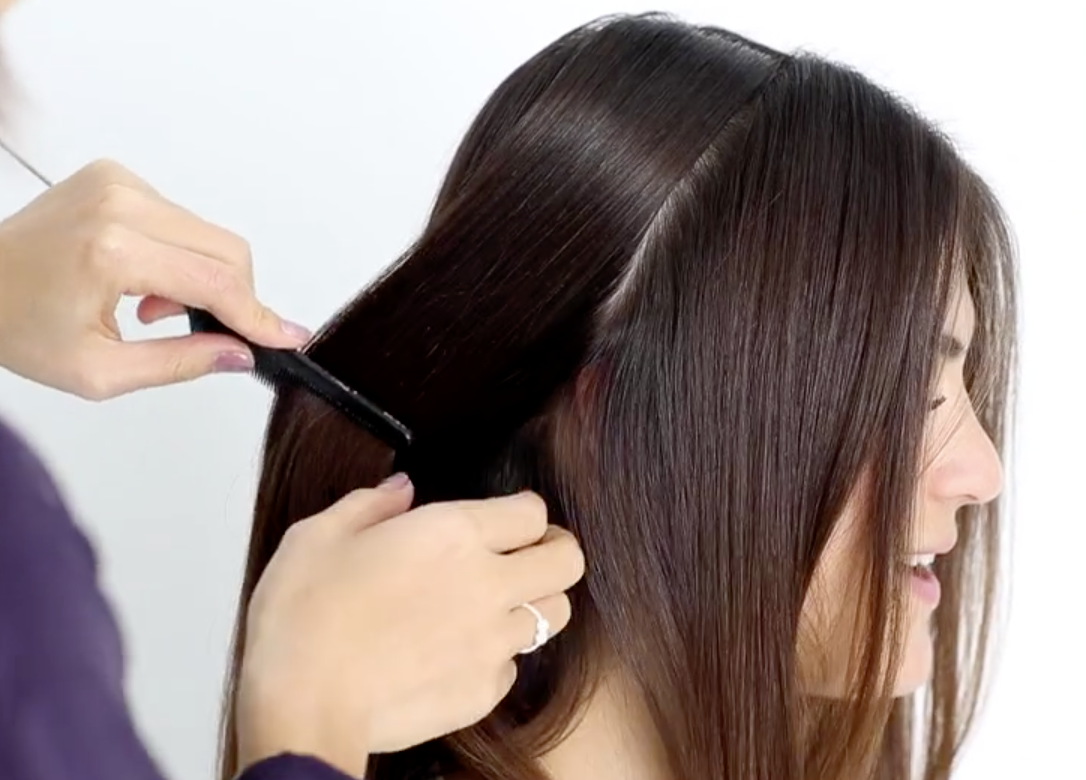
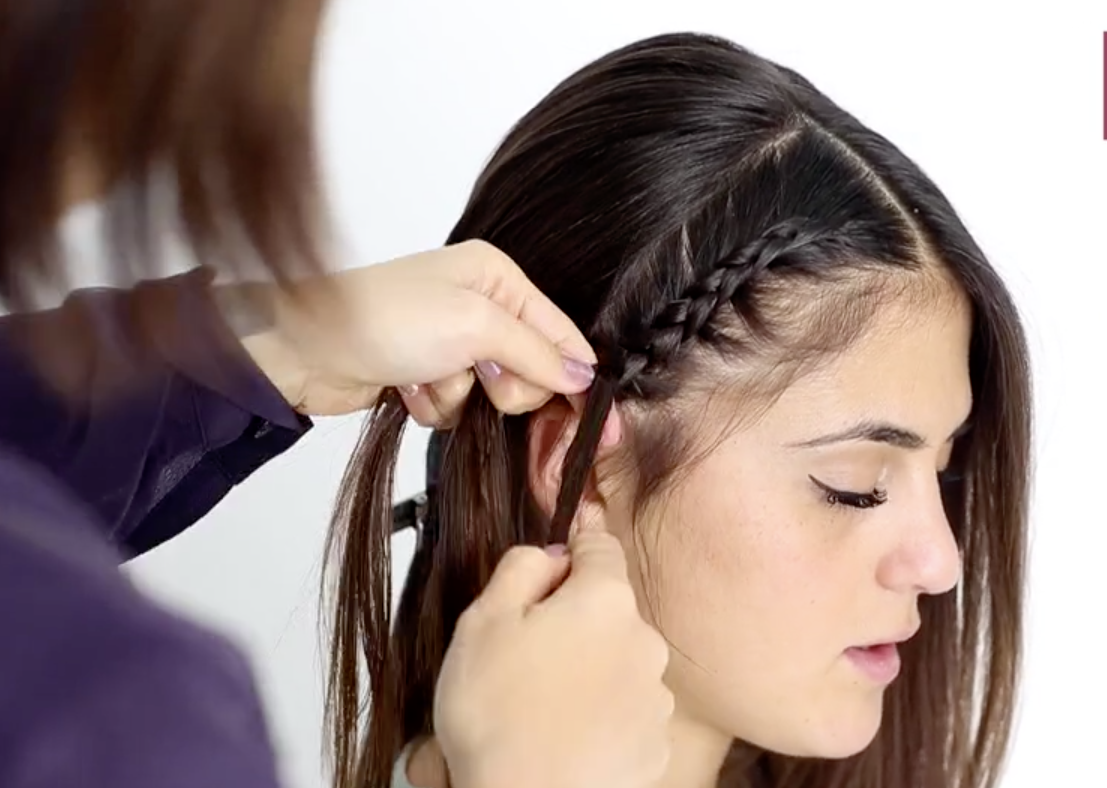
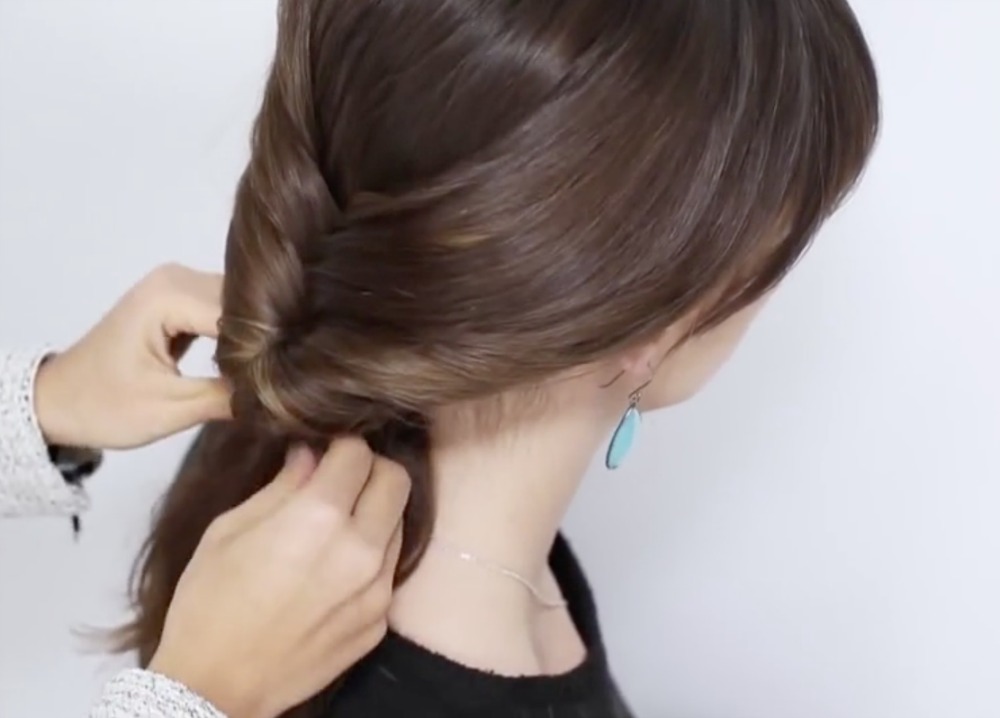
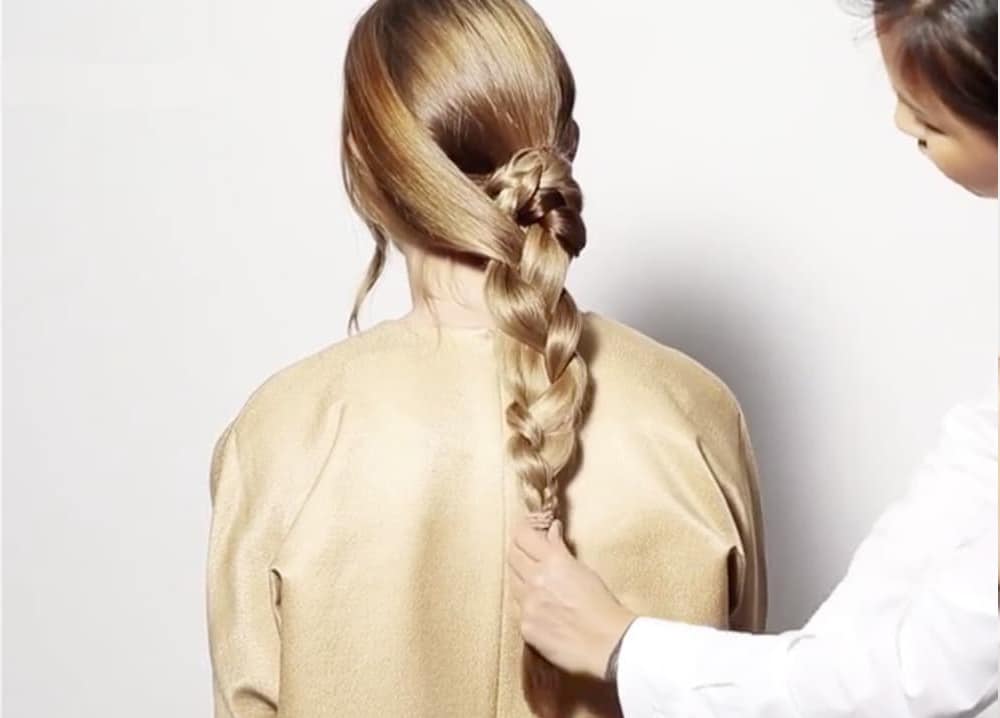
Braided in the front, curls in the back—this is a classic romantic look! You can achieve it with a little bit of patience and...
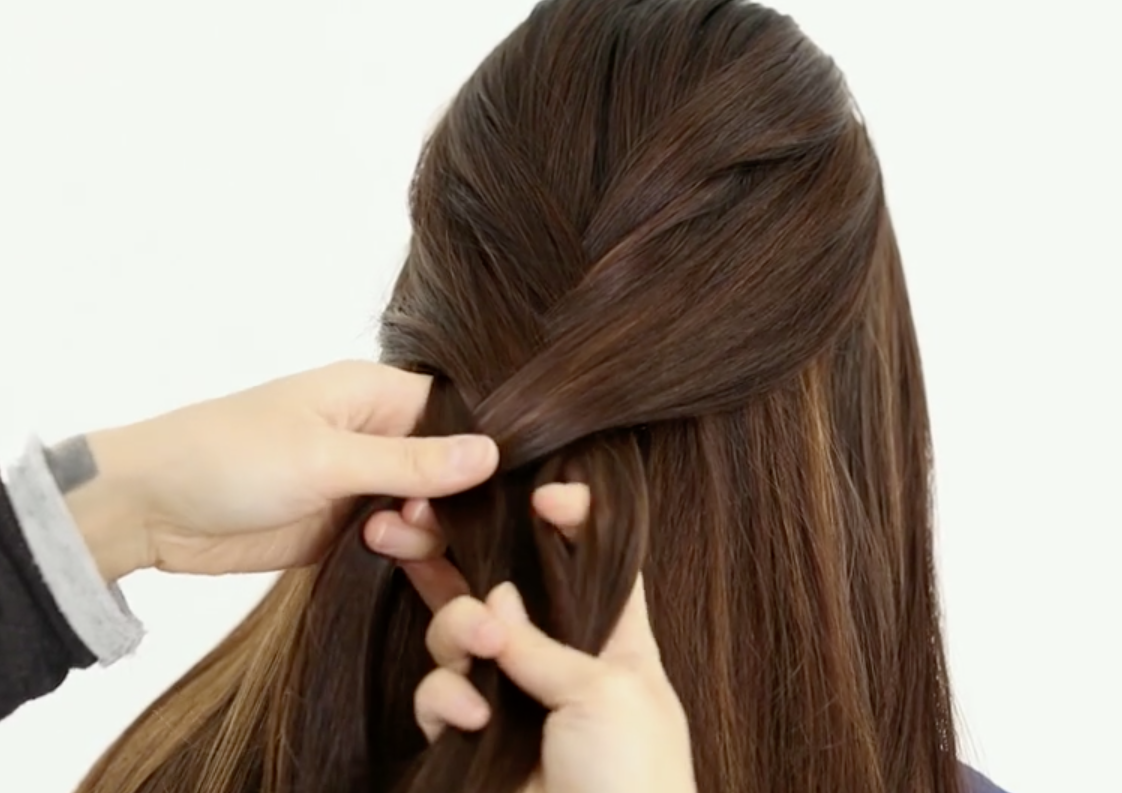
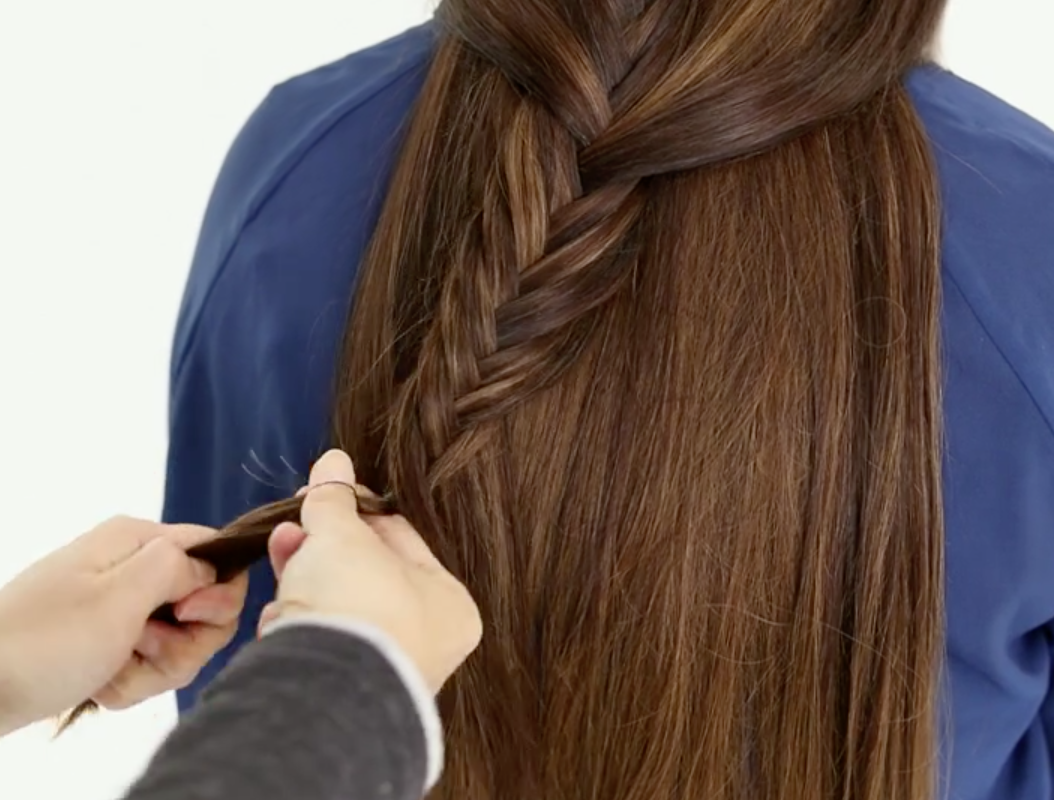
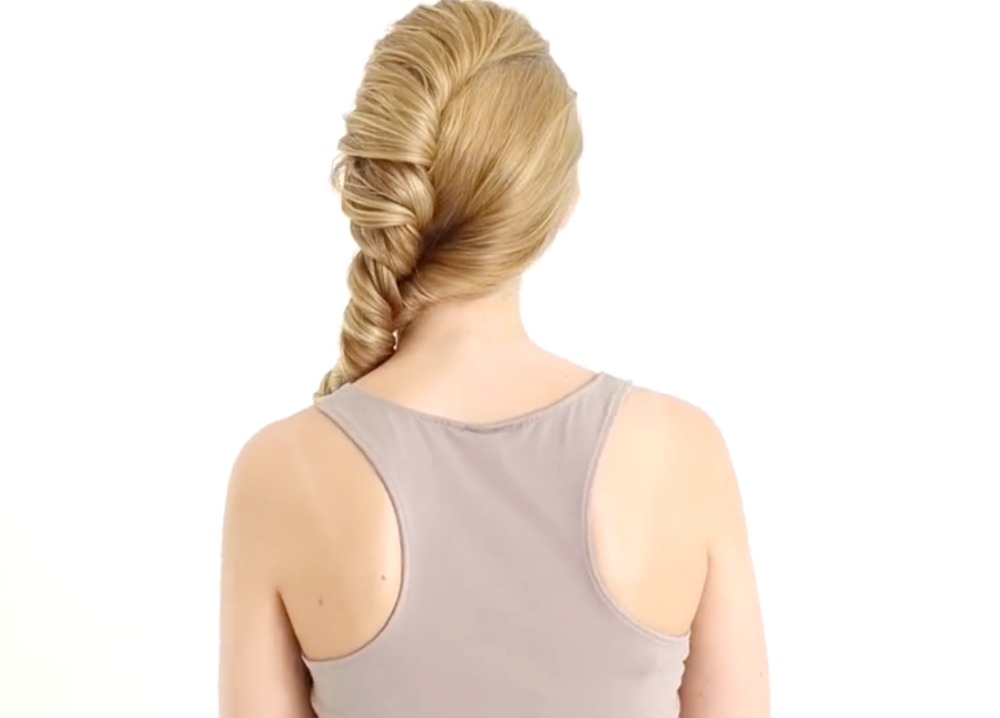
COMBINED FISHTAIL BRAID So, if you’ve never done a fishtail braid before, it can be a little intimidating but after you finis...
3 Comments
Read More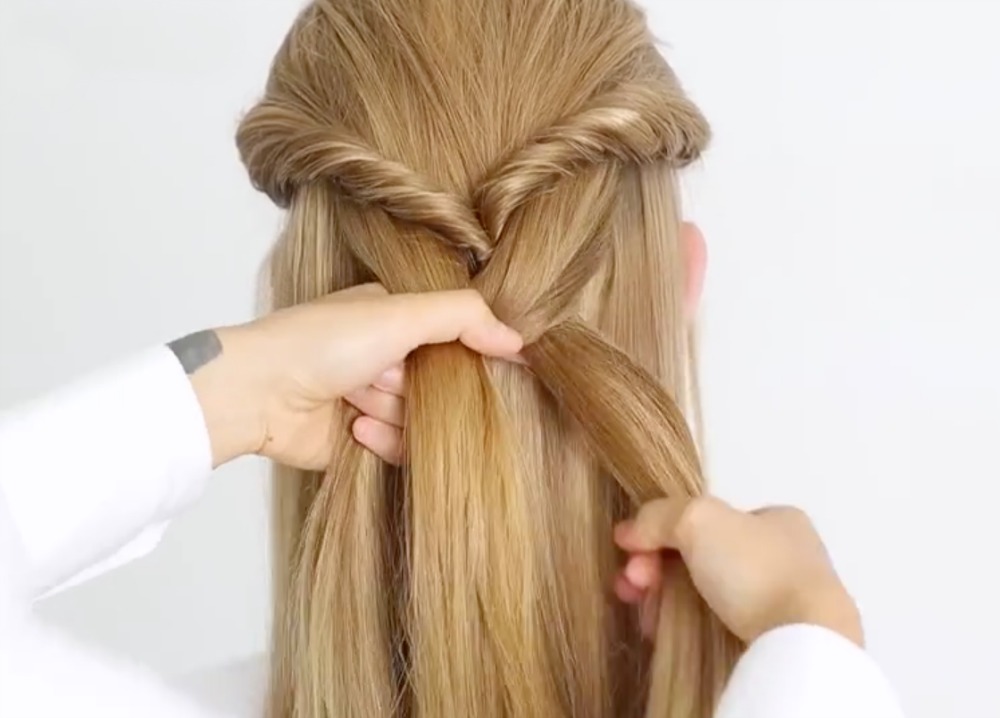
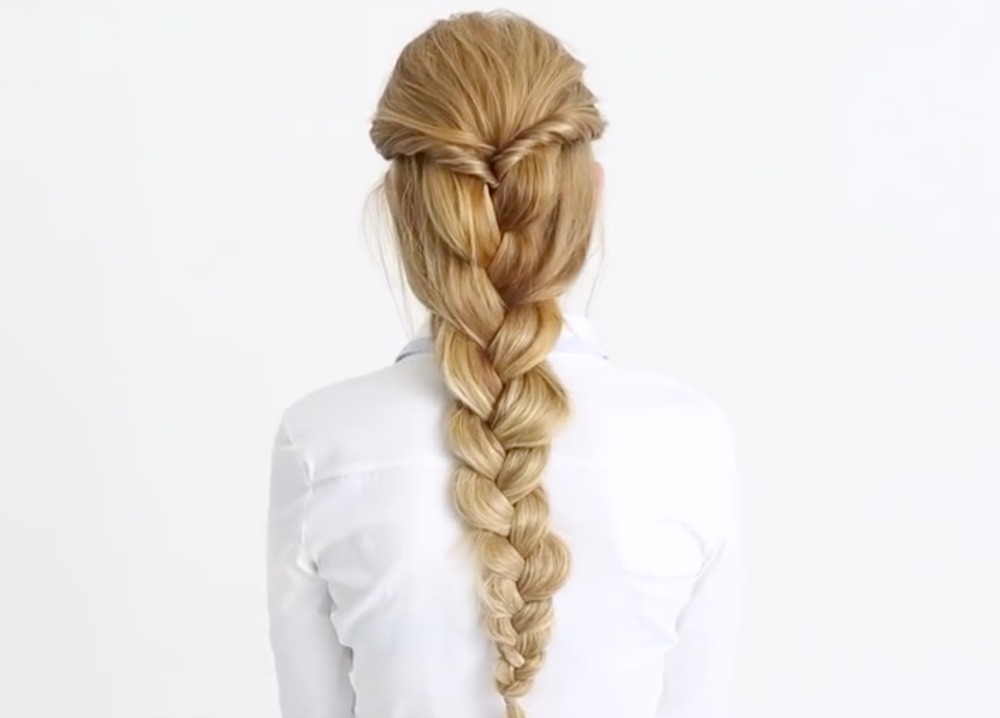
Let me just tell you, you are about to get some serious cool points from your friends for this professional looking braid. Not ...
1 Comments
Read More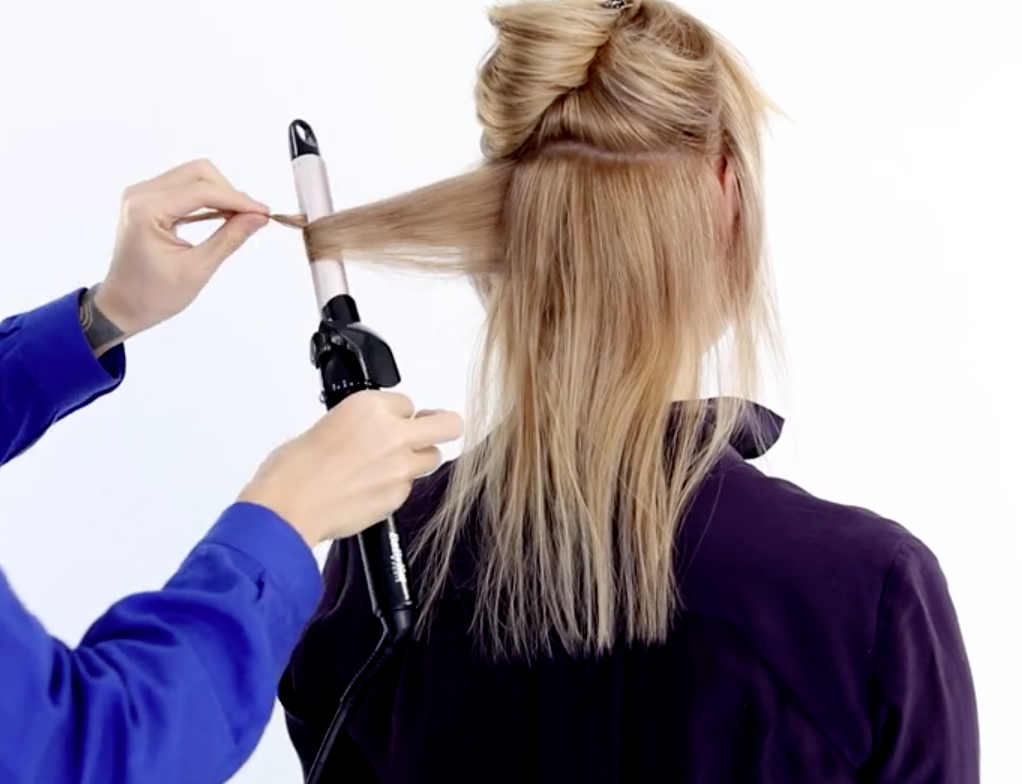
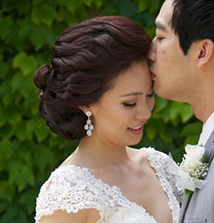
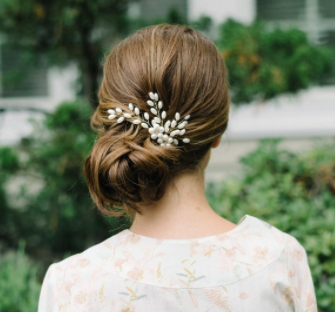
So, someone’s getting married, and you want to look your bridal best. If you’re looking for the perfect wedding up-do, we�...
1 Comments
Read More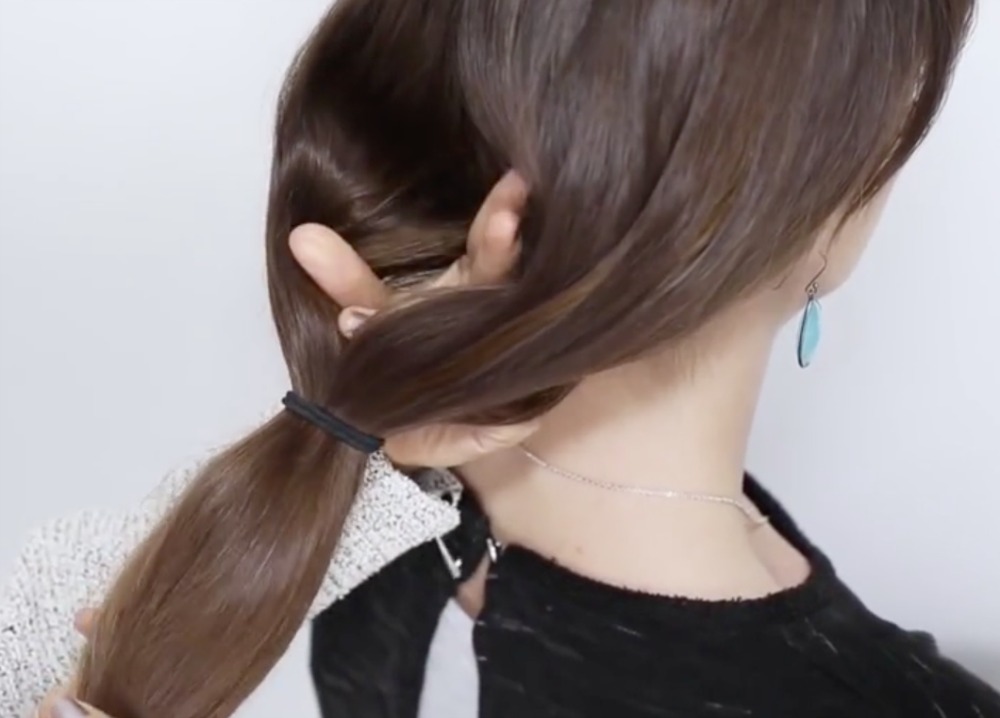
Even though this is a fall-inspired style, this ponytail is stylish enough to wear any season, any day, and for any occasion! B...
Fall is a time for change. Leaves changing colors, tank tops to hoodies, iced lattes to pumpkin spiced, you get the idea! It’...

Ok, I get it! Sometimes curling your own hair can take up enough time without having to worry about curling your hair extensions t...
If you have gorgeous, thick and voluminous hair, this tutorial is not for you, lol! Let’s face it, not all of us were blessed...
1 Comments
Read More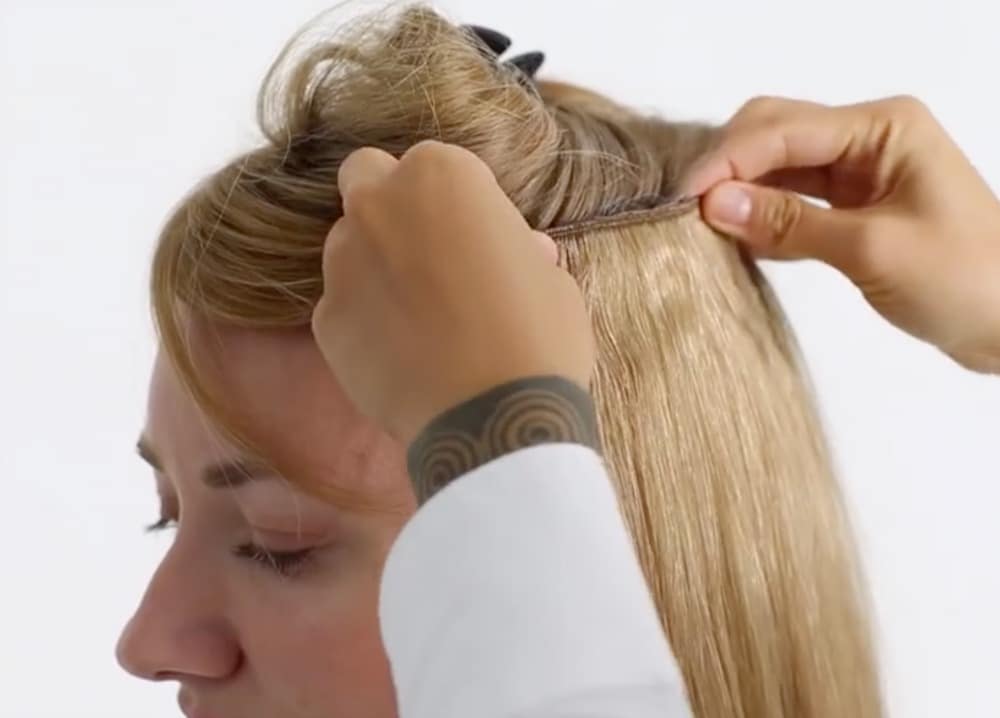

You don’t have to wait six months to have long hair! If you’ve been trying to grow your hair it out a while, but you’re r...
Have you ever instantly regretted a do-it-yourself hair color treatment—especially going from dark to light? Maybe that sandy...
99 Comments
Read More
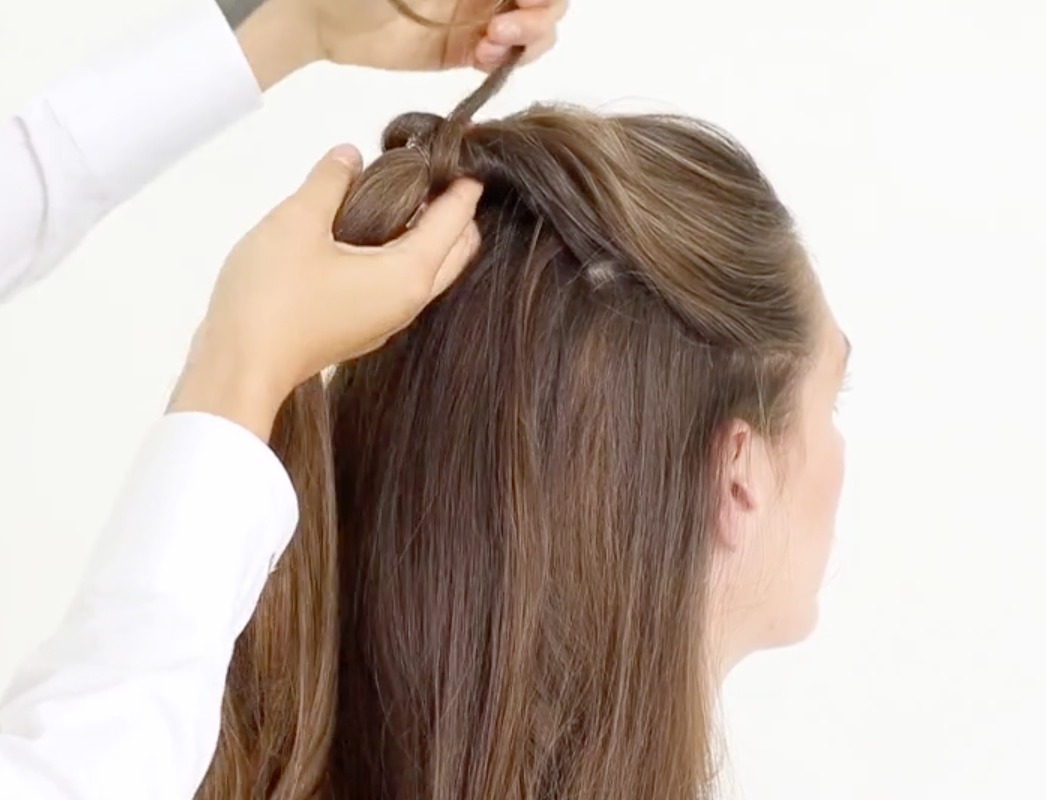
At one point, half-up styles took a back seat when it came to hairstyles but lately they have been super trendy and super hot! Par...
2 Comments
Read More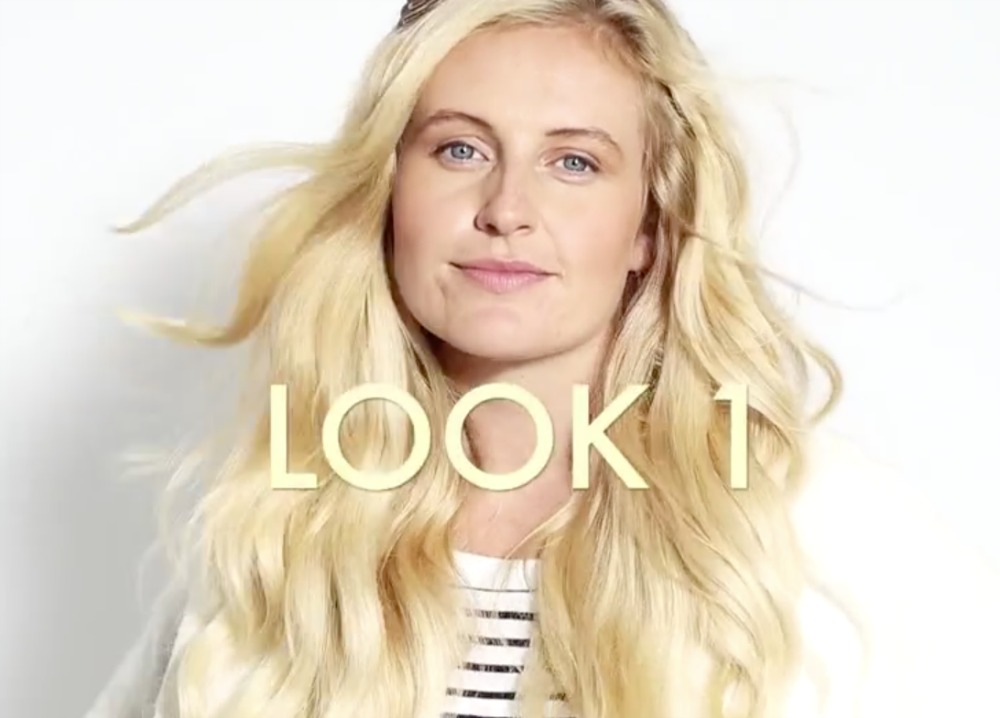
Real talk ladies, we’ve all been there! You wake up late, you throw on some clothes, and look in the mirror and think “what...
1 Comments
Read More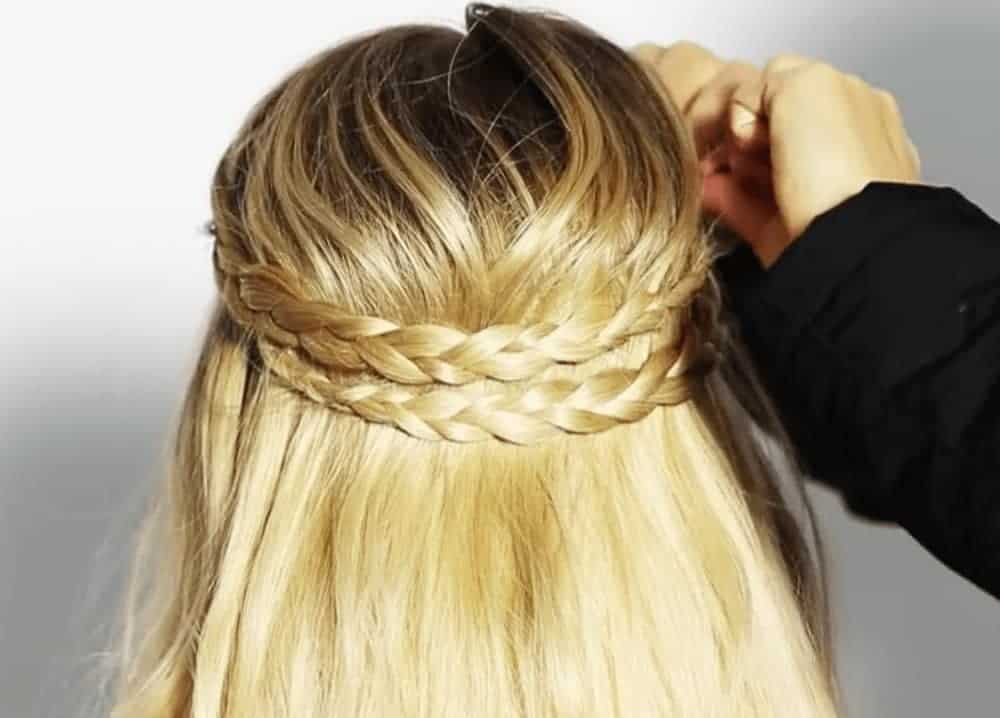

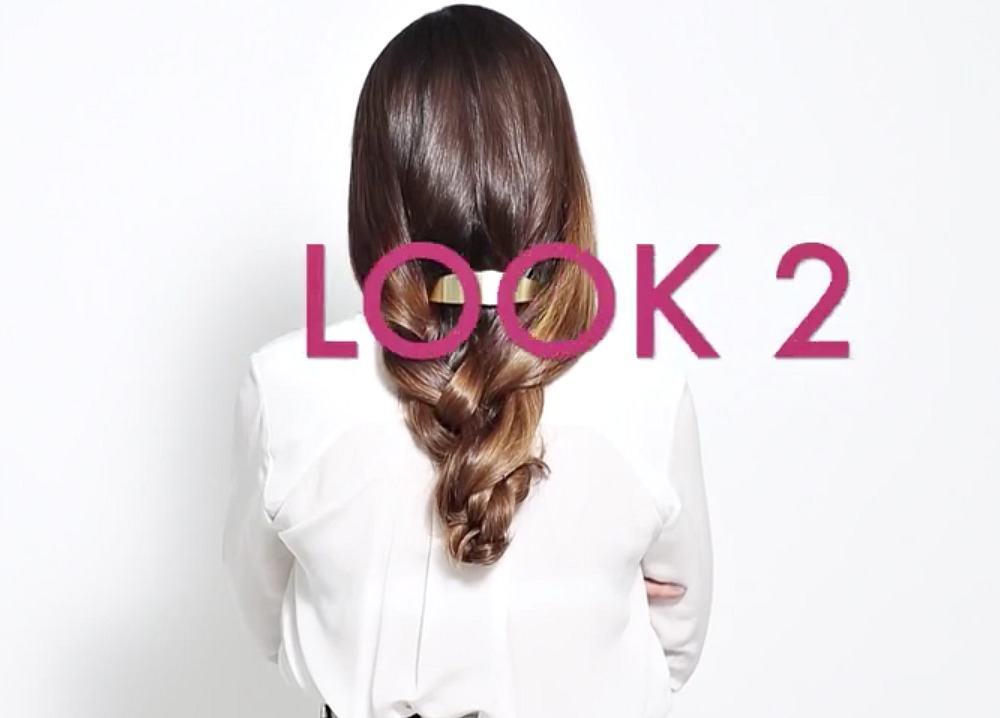
Just when you thought we were running out of tutorial ideas, BAM! We got six new styles to show you guys! SIX! As always, all o...


Sometimes it’s easy to forget but I am here to remind you that within each of you lies a goddess. A goddess that is uniquely ...
4 Comments
Read More
Let’s take a trip down memory lane and remember all the glory of the 1960’s. True, it did have some pretty conflicted event...
6 Comments
Read More
Hello, ladies, I am back with this popular go-to style that takes about 3 minutes and can be worn in many different ways from a...
2 Comments
Read More
Hey, lovelies! So, I definitely don’t indulge in celebrity related events and award shows but I do look at them every here an...
3 Comments
Read More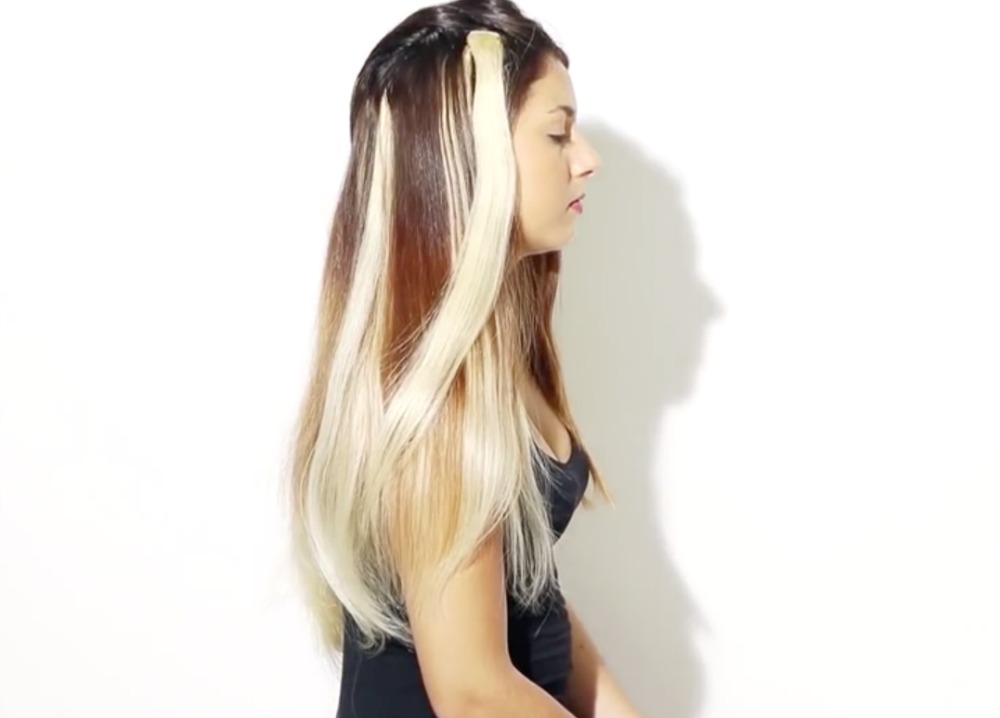
Every now and again, I get caught up with work or family and fail to even realize how completely boring my hair routine has got...
130 Comments
Read More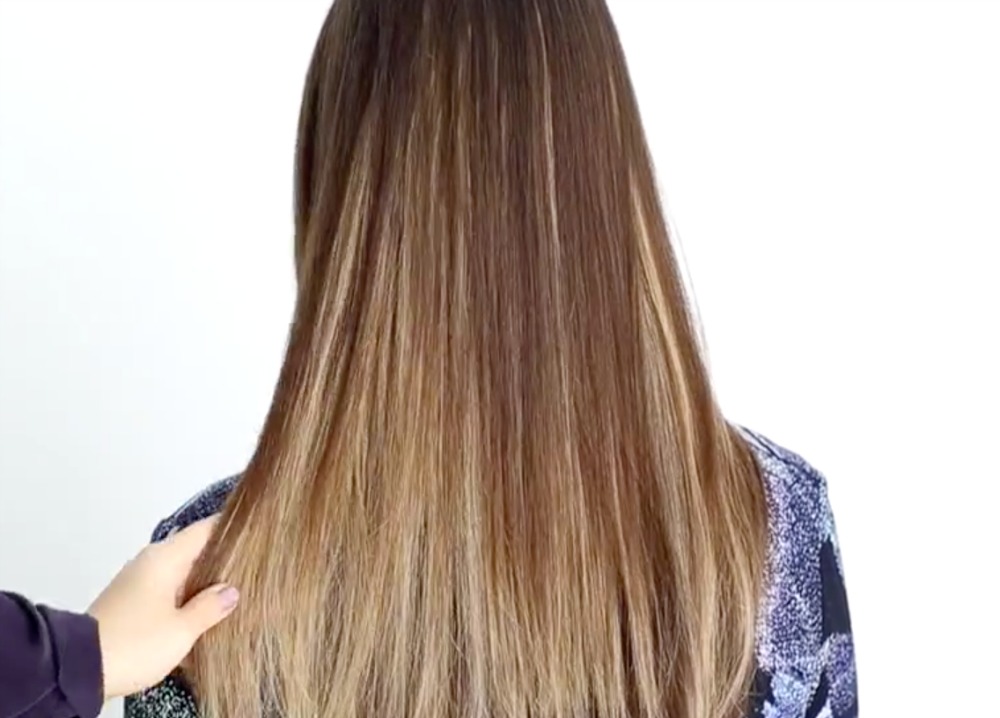
Have you ever done the fry-and-chop? Your friend had some flirty summer highlights, and you wanted to try them for yourself. Yo...
1 Comments
Read More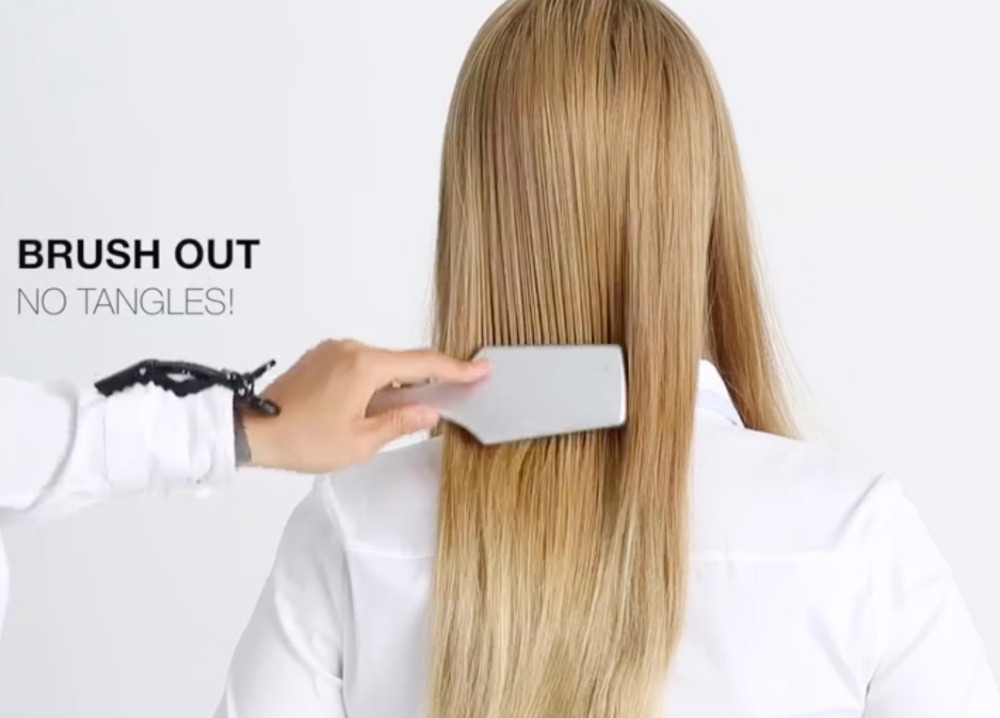
We all know it takes (seemingly) FOREVER to grow hair out. Maybe you wanted a drastic change, so you chopped it all off. And wh...
Want to volumize and lengthen your hair? Try hair extensions! You can make it happen in under an hour, and we’re going to sho...


Overwhelmed by the idea of trying hair extensions for the first time? Don’t be afraid—volume can be yours in less than an h...

Are you guys ready for some great new hairstyles to show off? I hope so because I have three unique options for you to learn th...
6 Comments
Read MoreBlispay makes shopping at Estelle's Secret even easier. It's the only payment option that gives you:
No Payments, No Interest on purchases over $199 if paid in full in 6 months.
Blispay gives you 2% Cash Back on all purchases and works everywhere Visa is accepted.
APPLY NOW AT BLISPAY.COM